Flat Abs Yoga Workout
Bikini season may have already started, but it's never too late to get in shape!
We'd all like to have long lean muscles and a flat stomach. But it's neither fun nor effective to torture yourself with the same sit up routine over and over again.
I used to spend hours at the gym to get my belly toned. But ever since I started doing yoga, my core has gotten so much stronger, more definied and toned. A lot of people who are new to yoga, think that it's not really a workout and that it's boring. But it depends on what style of yoga you choose! When I teach my Vinyasa Flow classes, I like people to break into a sweat. The Asanas (Yoga postures) strengthen your upper arms, shoulders, back, abdomen and glutes, making it a complete body workout.

But in this post, I would like to focus on the most effective Ab-excercises. Having a strong core, will make a big difference in your yoga practice and overall posture. One of the best core exercises as well as great prep pose for more challenging postures is Plank Pose. It builds endurance and stamina, while improving the function of the nervous system. Practicing this pose several times during a yoga practice will tone all of the core muscles of the body.
Dolphin Plank Pose will help you to reduce stress by focusing the mind and calming the nervous system. It also builds strength throughout the entire body. It is a little easier to hold than Plank Pose, but it is still a very challenging and effective core toning exercise.
In the 7 following exercises you will find variations of Plank and Dolphin Plank Pose. As well as other exercises for a strong core. Please keep in mind that this is an intermediate to advanced workout. Take it easy on your wrists and start with lower repetitions. Slowly increase over time.
You are only a few toning yoga postures away from that killer core;)
I hope you enjoy this workout! Please ask me any questions in the comment box below.
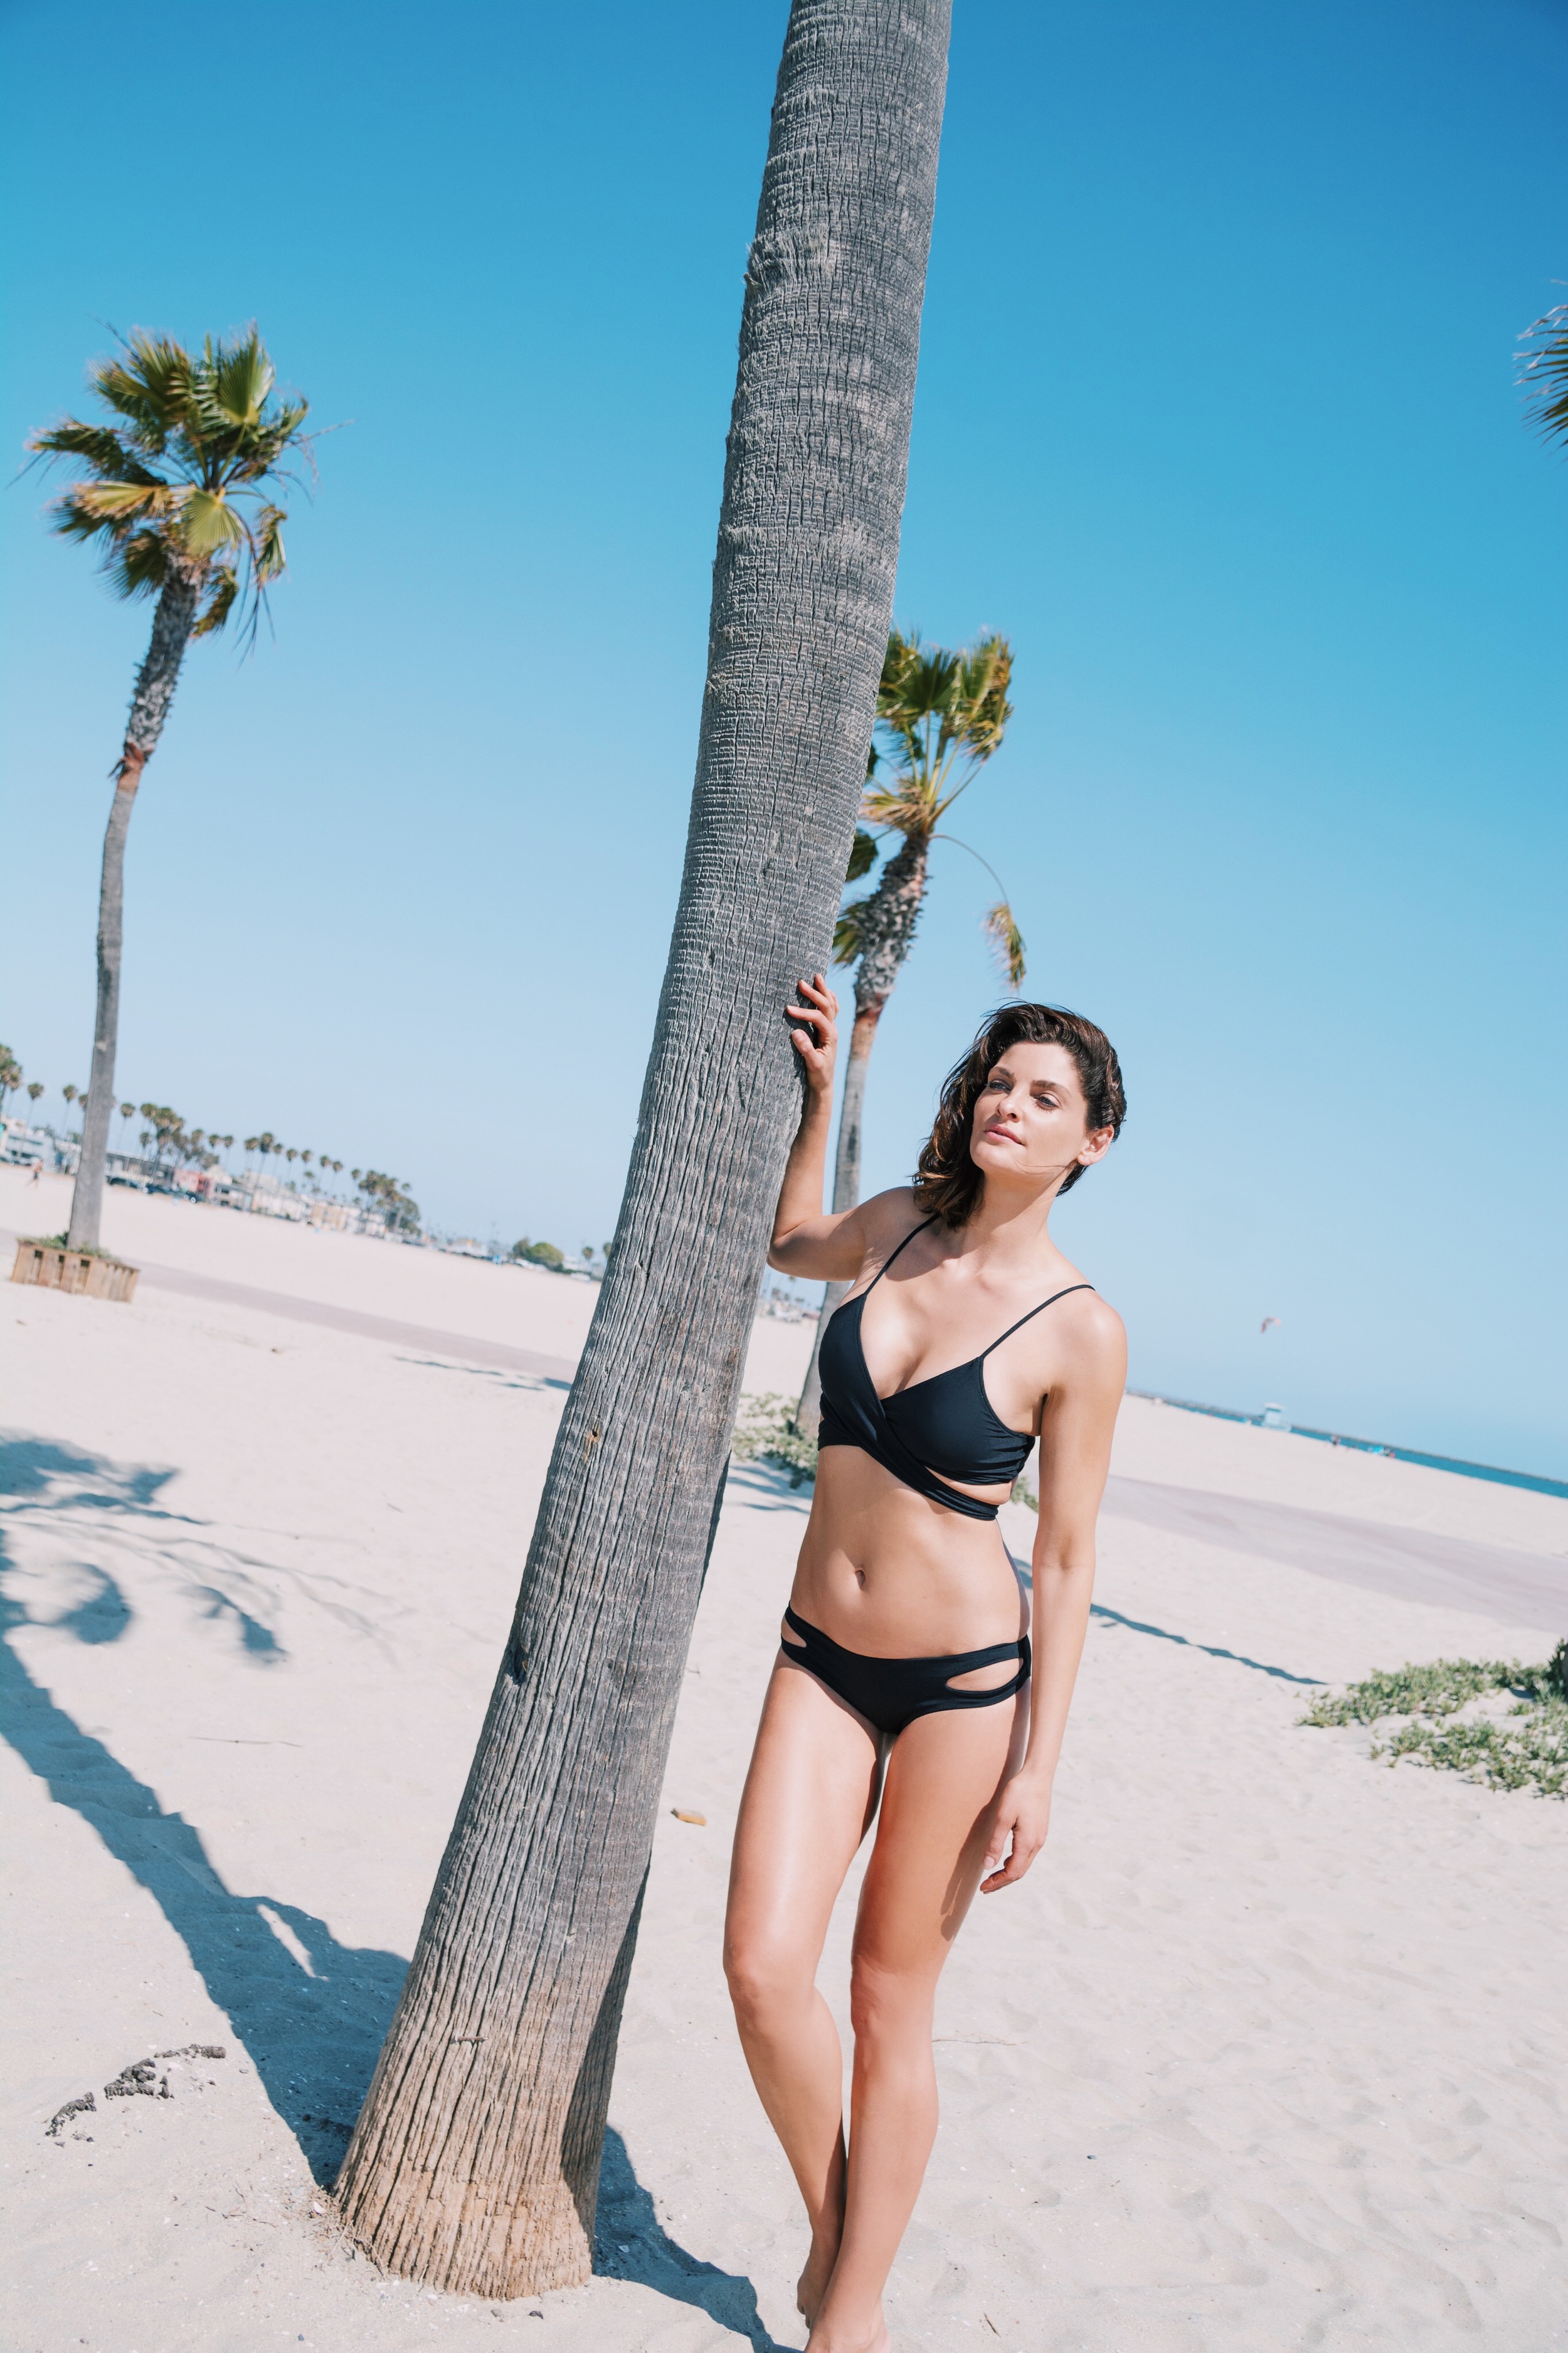
++ Outfit++
Bikini: L Space
Yoga Top: Athleta
Yoga Pants: Athleta
Photos by Said Shabafrooz
1. Core Twist (Jathara Parivartanasana B)
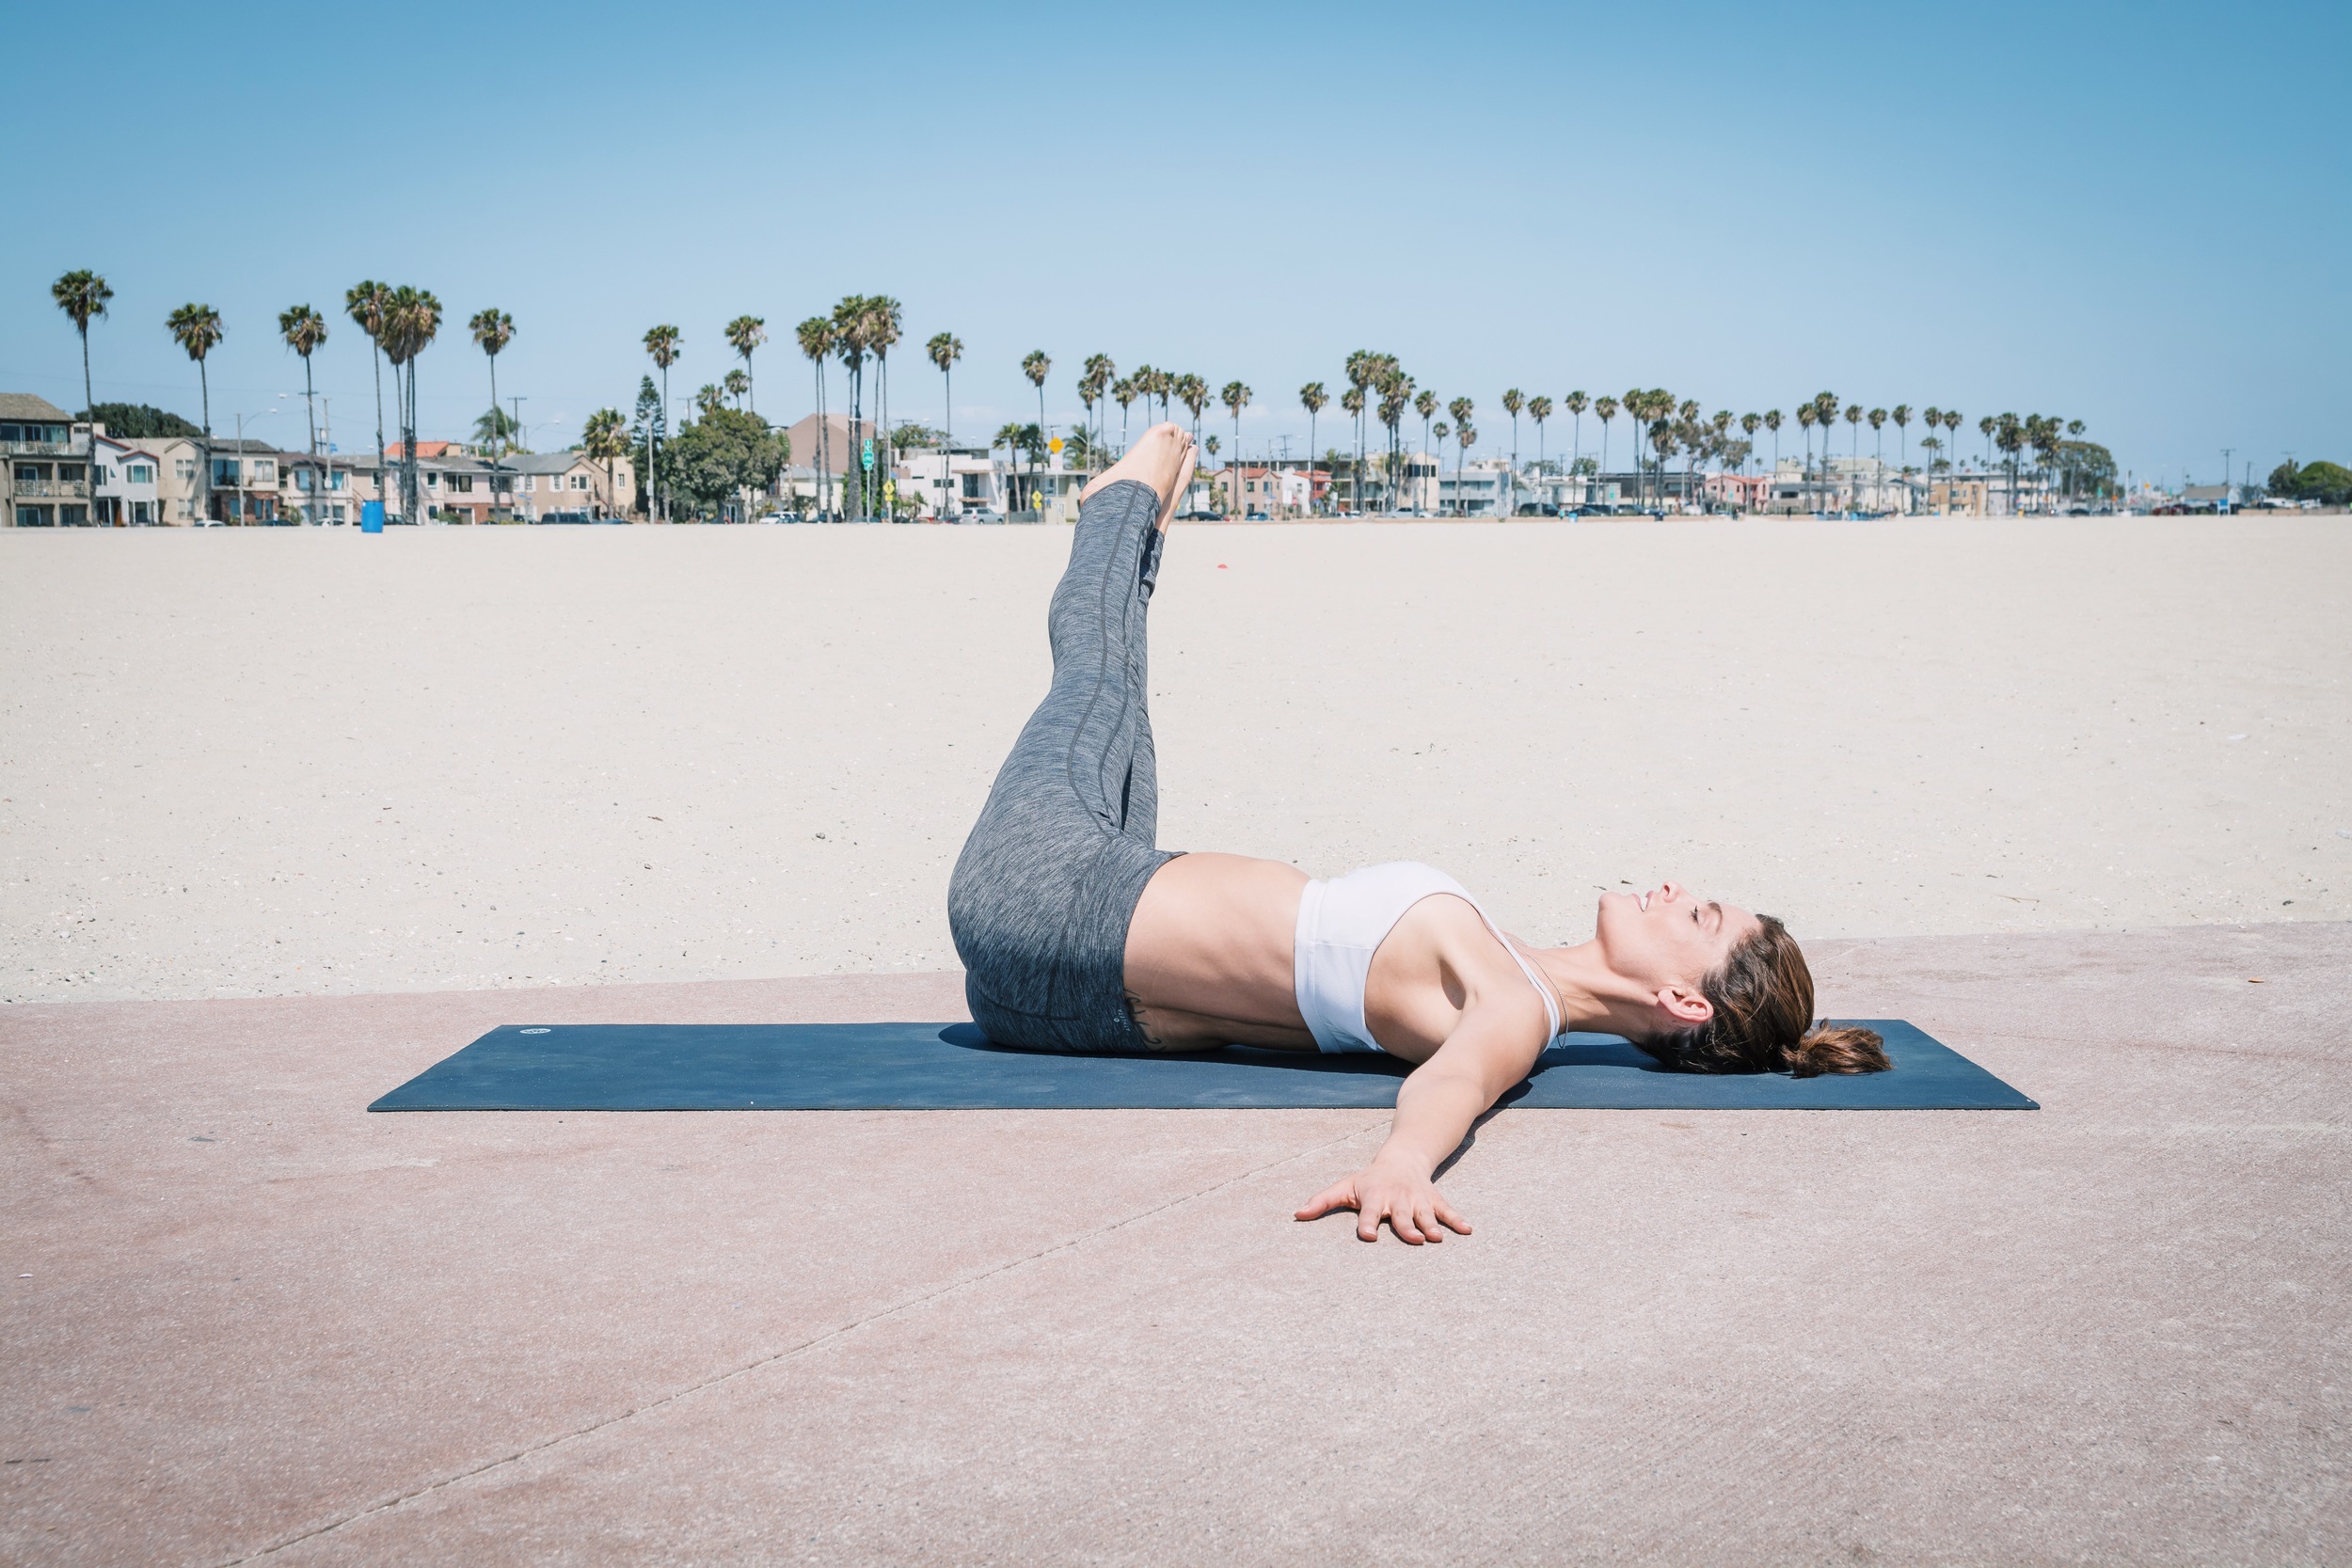

1. Lie on your back with your knees bent and your feet flat on the floor. Open your arms out to the sides, keeping your hands in line with your shoulders and your palms facing down.
2. Lift your feet off the floor and bring your knees over your pelvis, creating a 90 degree angle with your legs.
3. Rooting down through your palms, draw your knees over to the right. Make sure to keep your legs together and your left shoulder down on the mat.
4. Hover your knees a couple of inches off the floor. If this is enough for you, stay here for 2 breaths. For a deeper challenge, begin to straighten your legs. Keep them hovering, as your left palm, forearm and shoulder are rooting down. Inhale.
5. On the exhale. Bring your legs back to center, keeping your entire spine on the floor. Slowly bring your legs over to the other side. Repeat between 4-8 times on both sides.
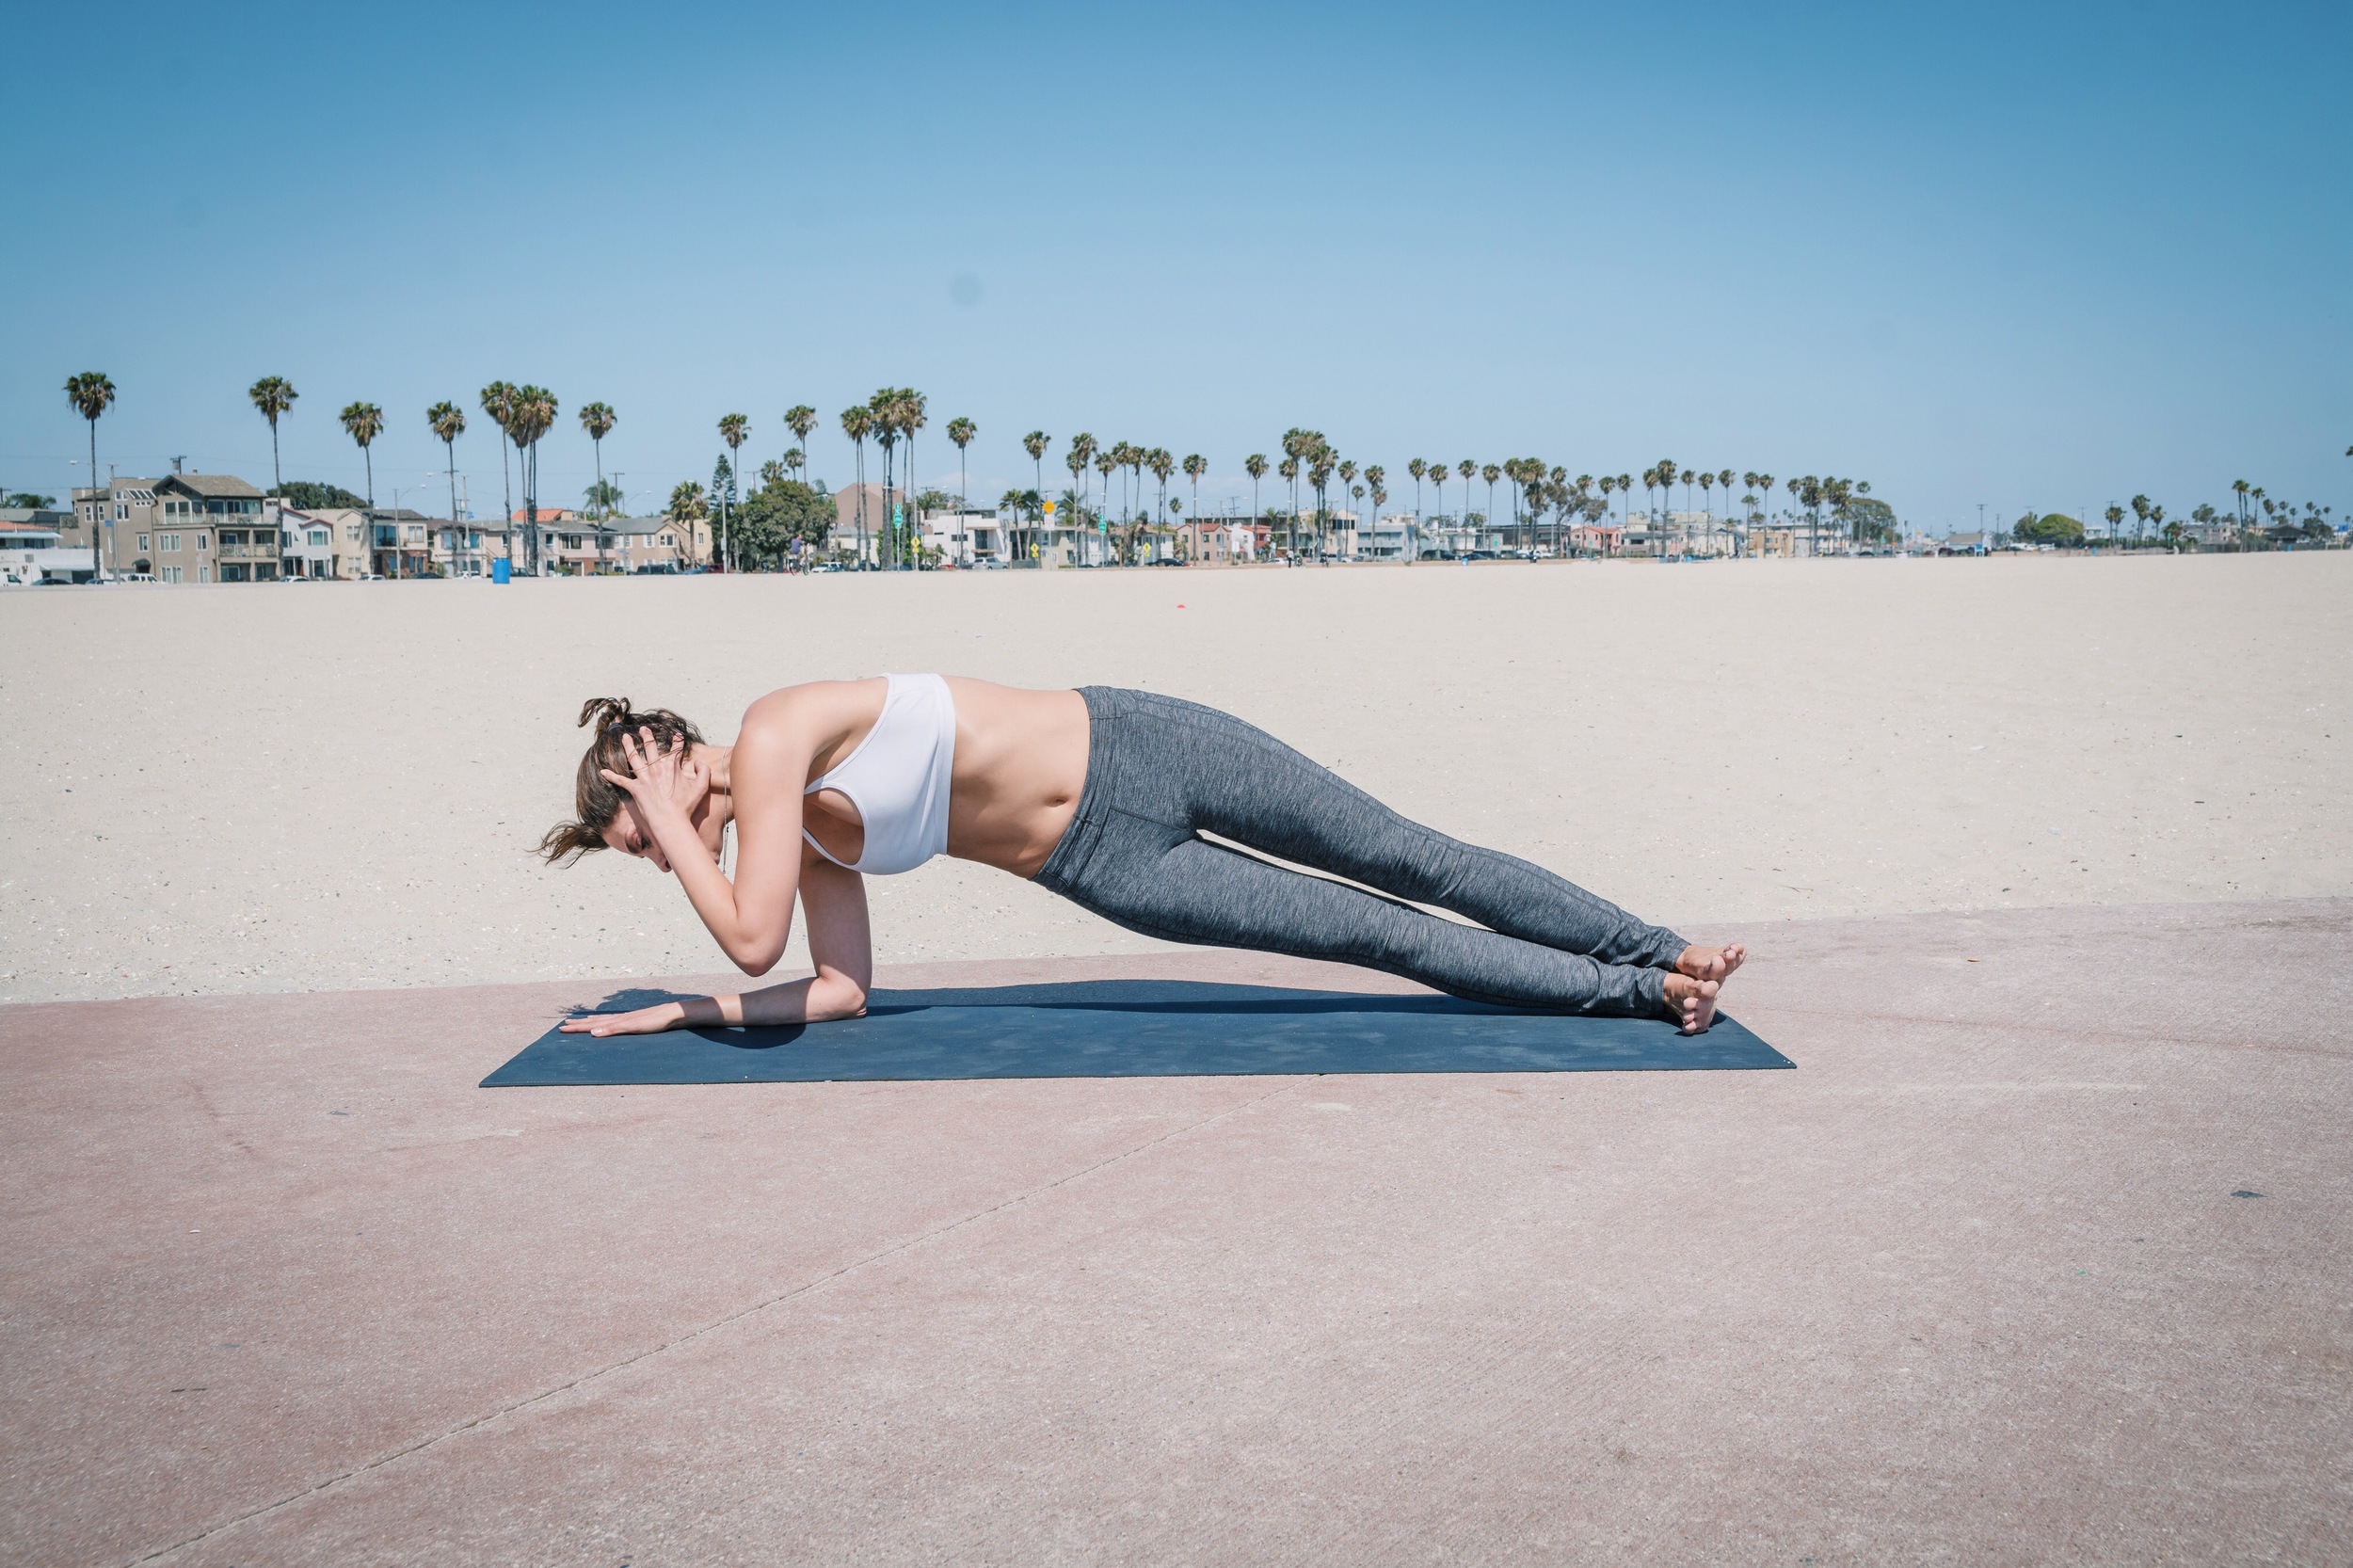
2. Dolphin Plank Hip Twist
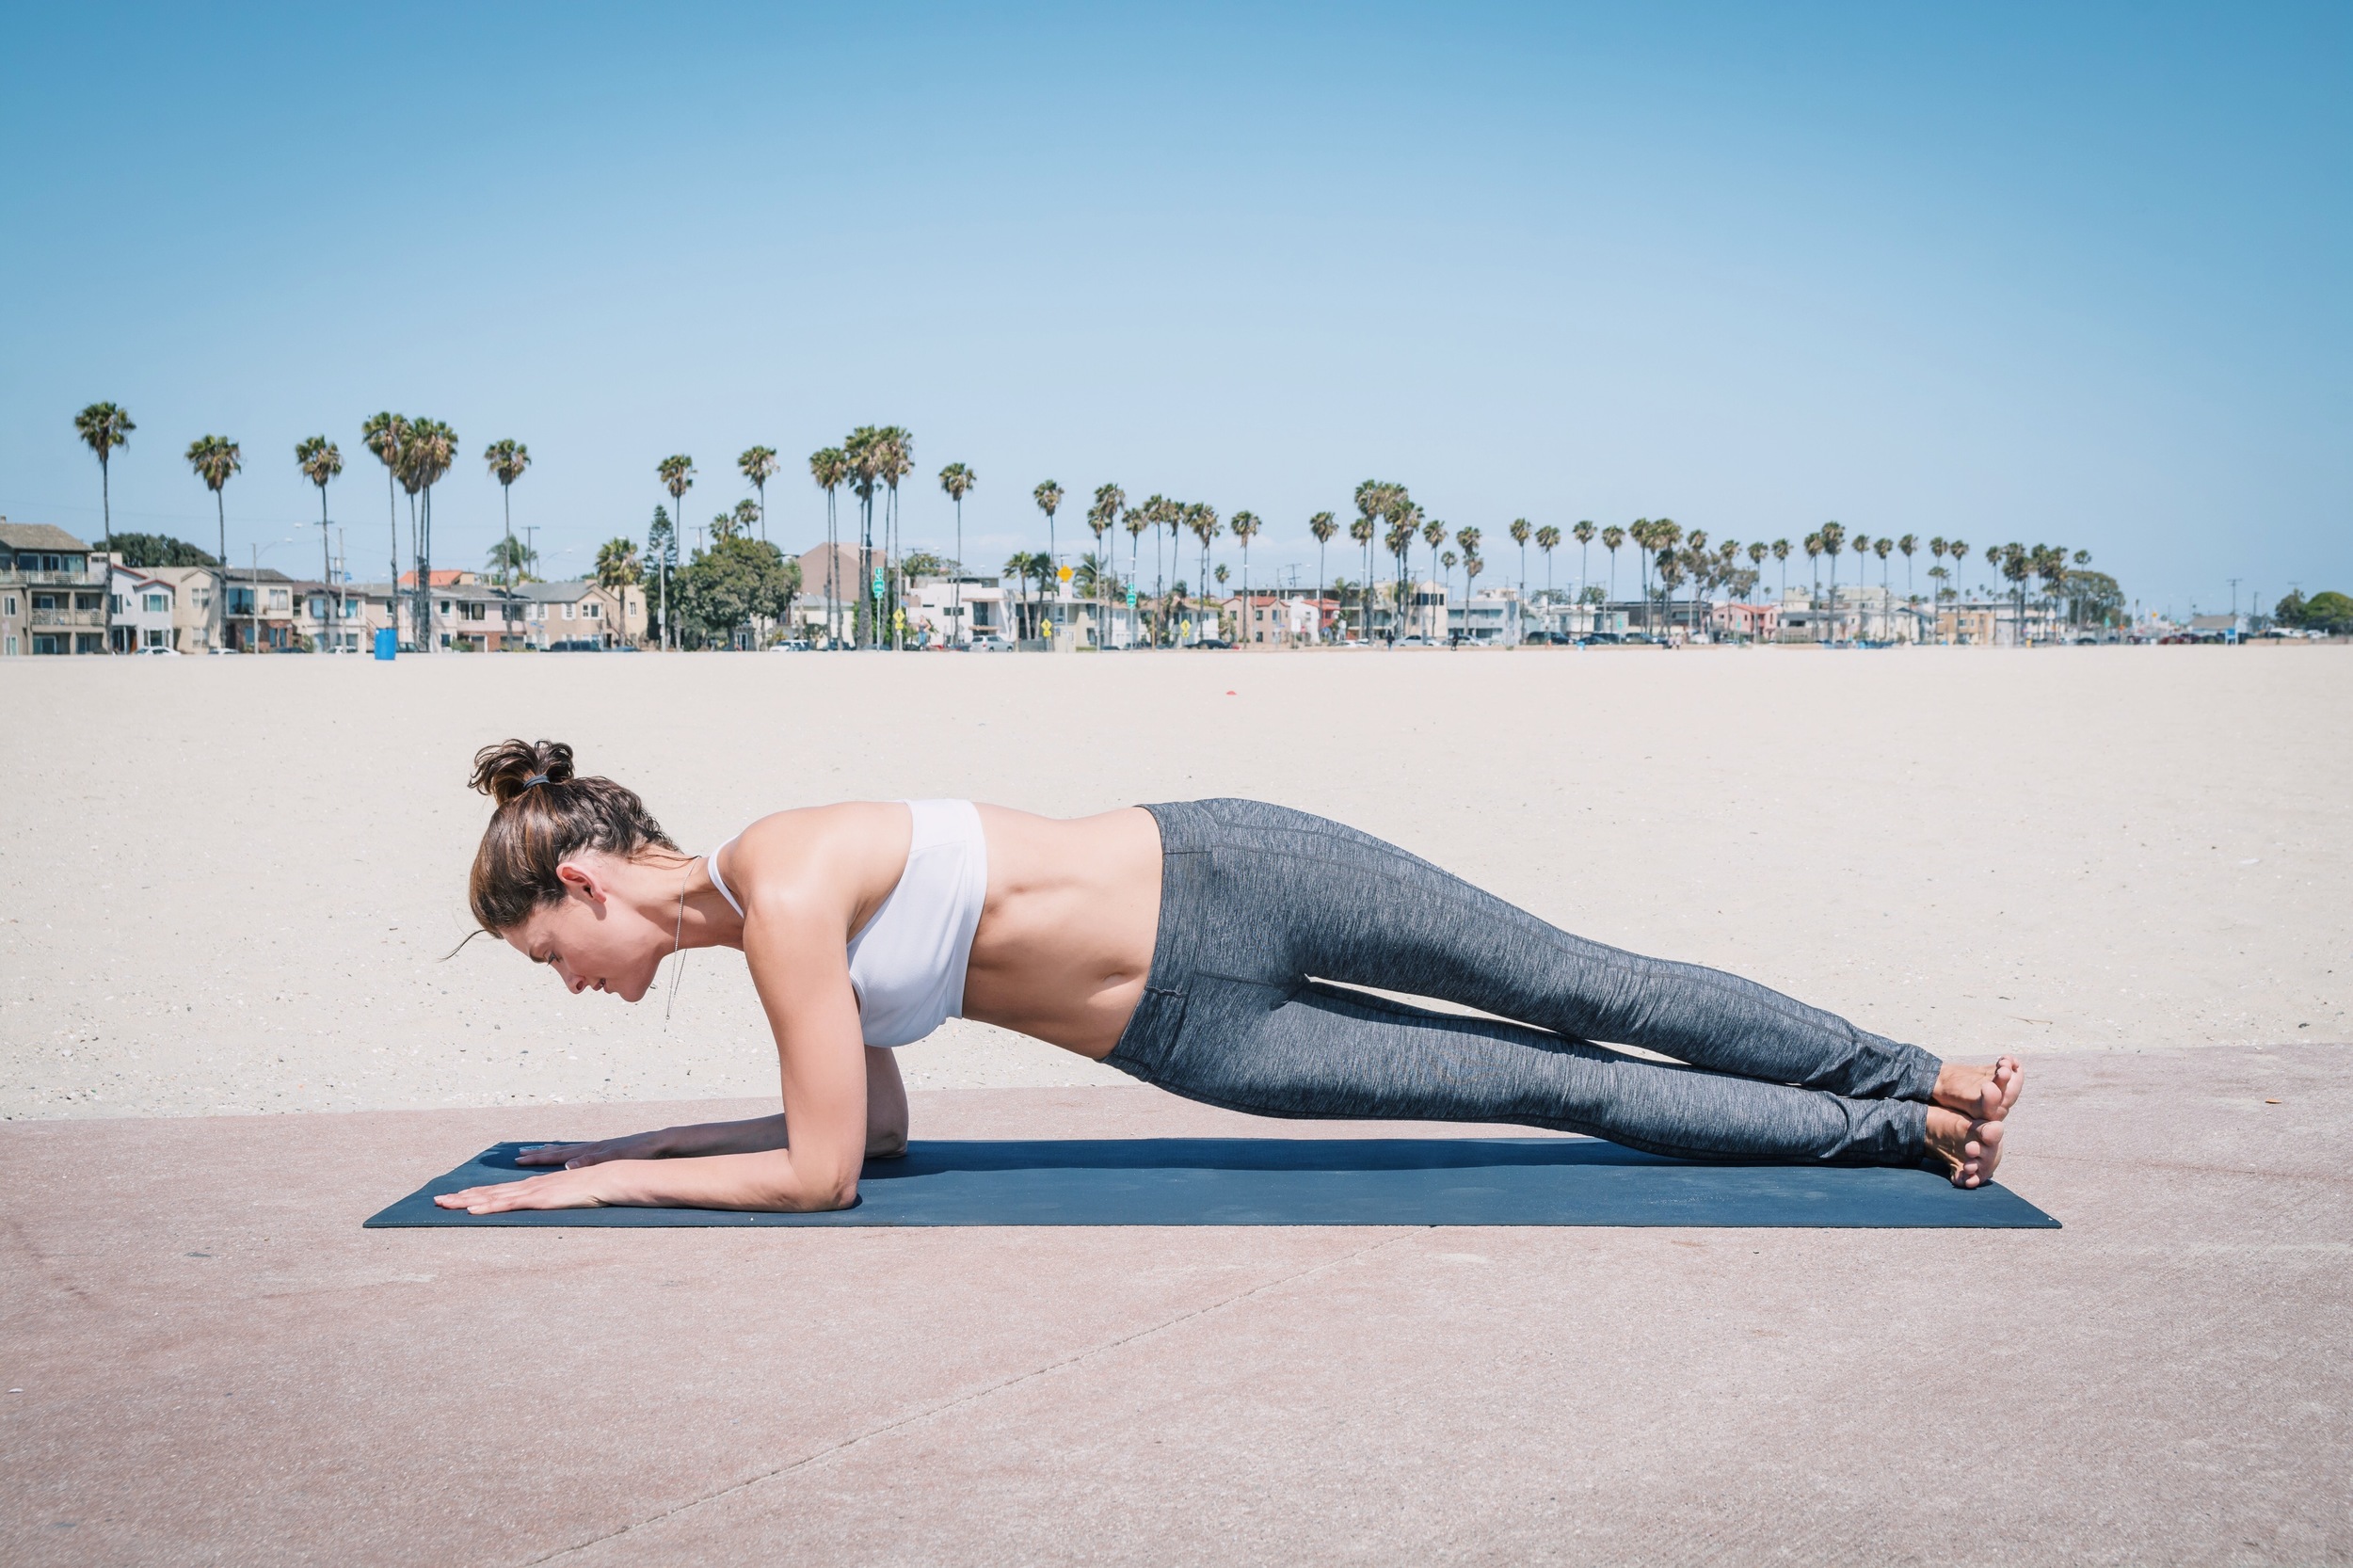
1. Begin on your hands and knees in a table top position. Make sure your wrists are in line with your shoulders and your knees are set directly below your hips.
2. Lower your forearms to the floor directly beneath your shoulders. Keep them at shoulder width and parallel to the side edges of your mat. Your palms are flat, fingers pointing forward.
3. Step your feet back, keeping your toes tucked under until your body comes into one straight line. Keep your elbows in line with your shoulders and your heels over your toes.
4. Engage your abdominals and lift your quadriceps to prevent your hips from sinking down. Realign your pelvis, if your butt is sticking up too high. Draw your shoulders away from the ears, keeping your neck long. Gaze down or slightly forward.
5. Keep your back straight and abs thight. Begin to rotate your pelvis to the right, dipping your left hip to the floor. Lift your hips back up, twist and dip to the left. Keep tapping your hips to the floor. This exercise can be very challenging. Keeping your gaze focused on one point, inhale when the hips are lifted, exhale when you twist. Try to do 3- 5 on each side.
6. To release the pose, come back to a neutral position in your hips. Slowly lower onto your knees. Then press back to Child's Pose (Balasana)
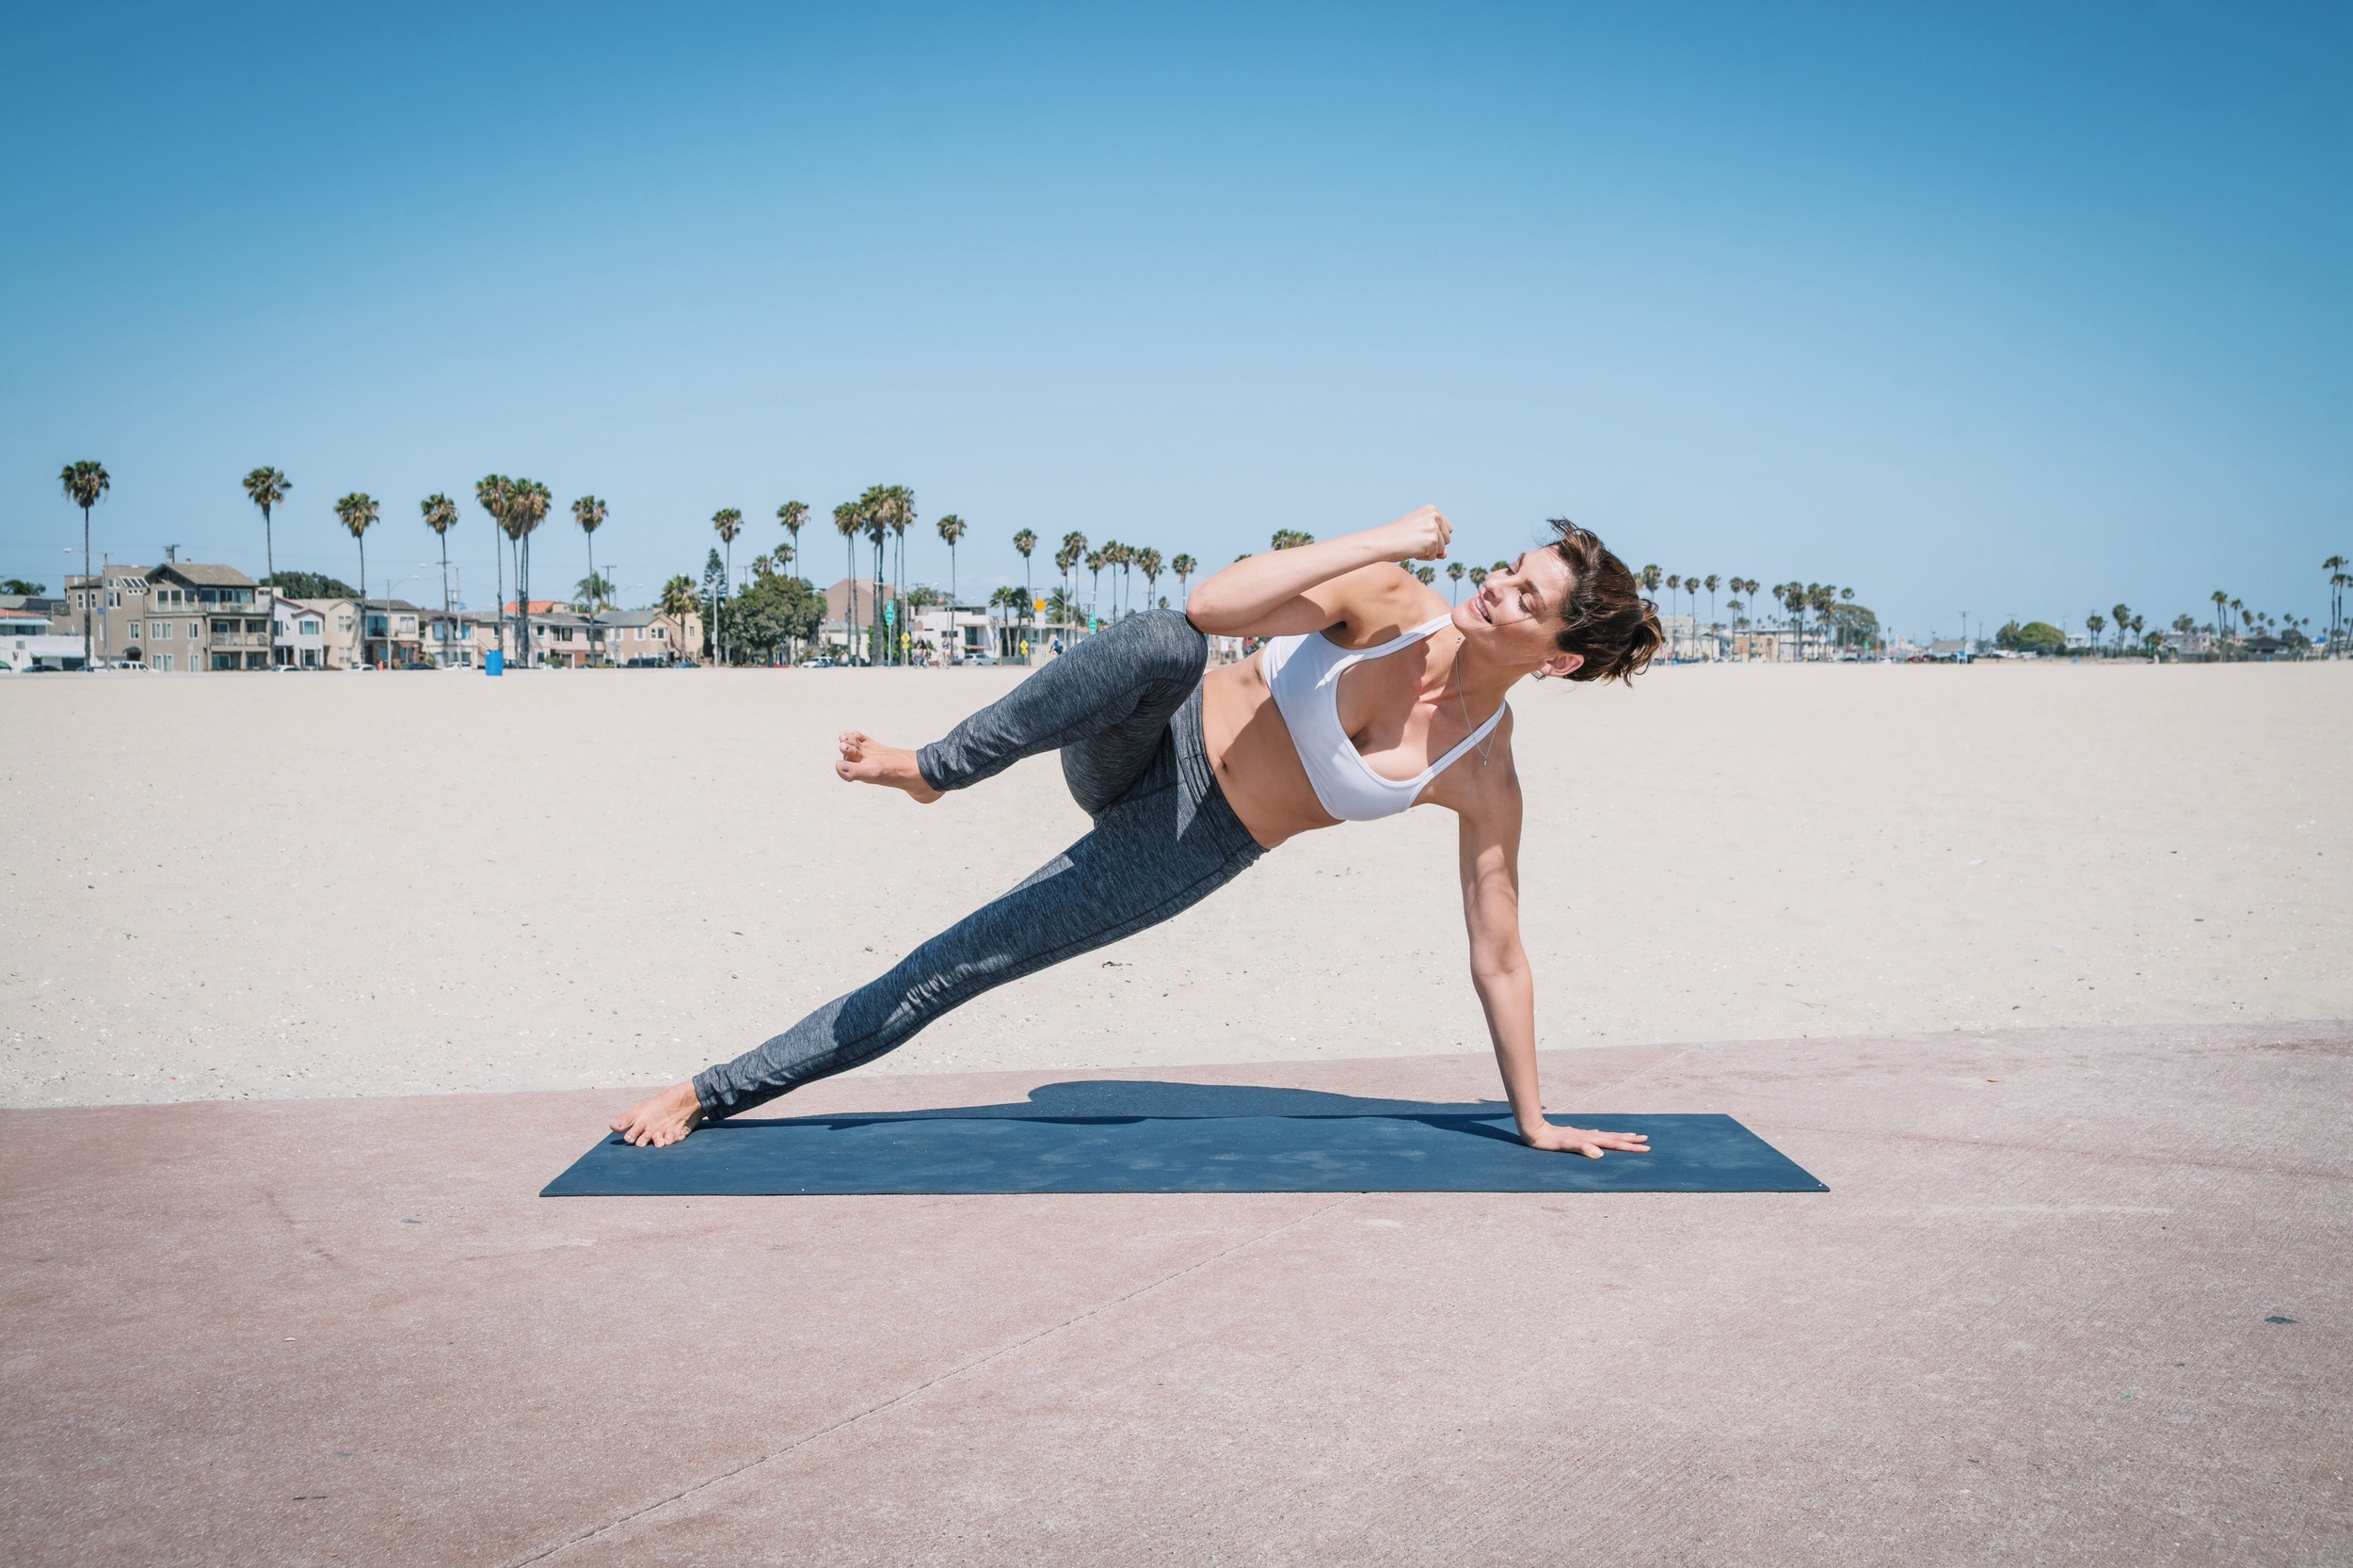
3. Side Plank Oblique Twist
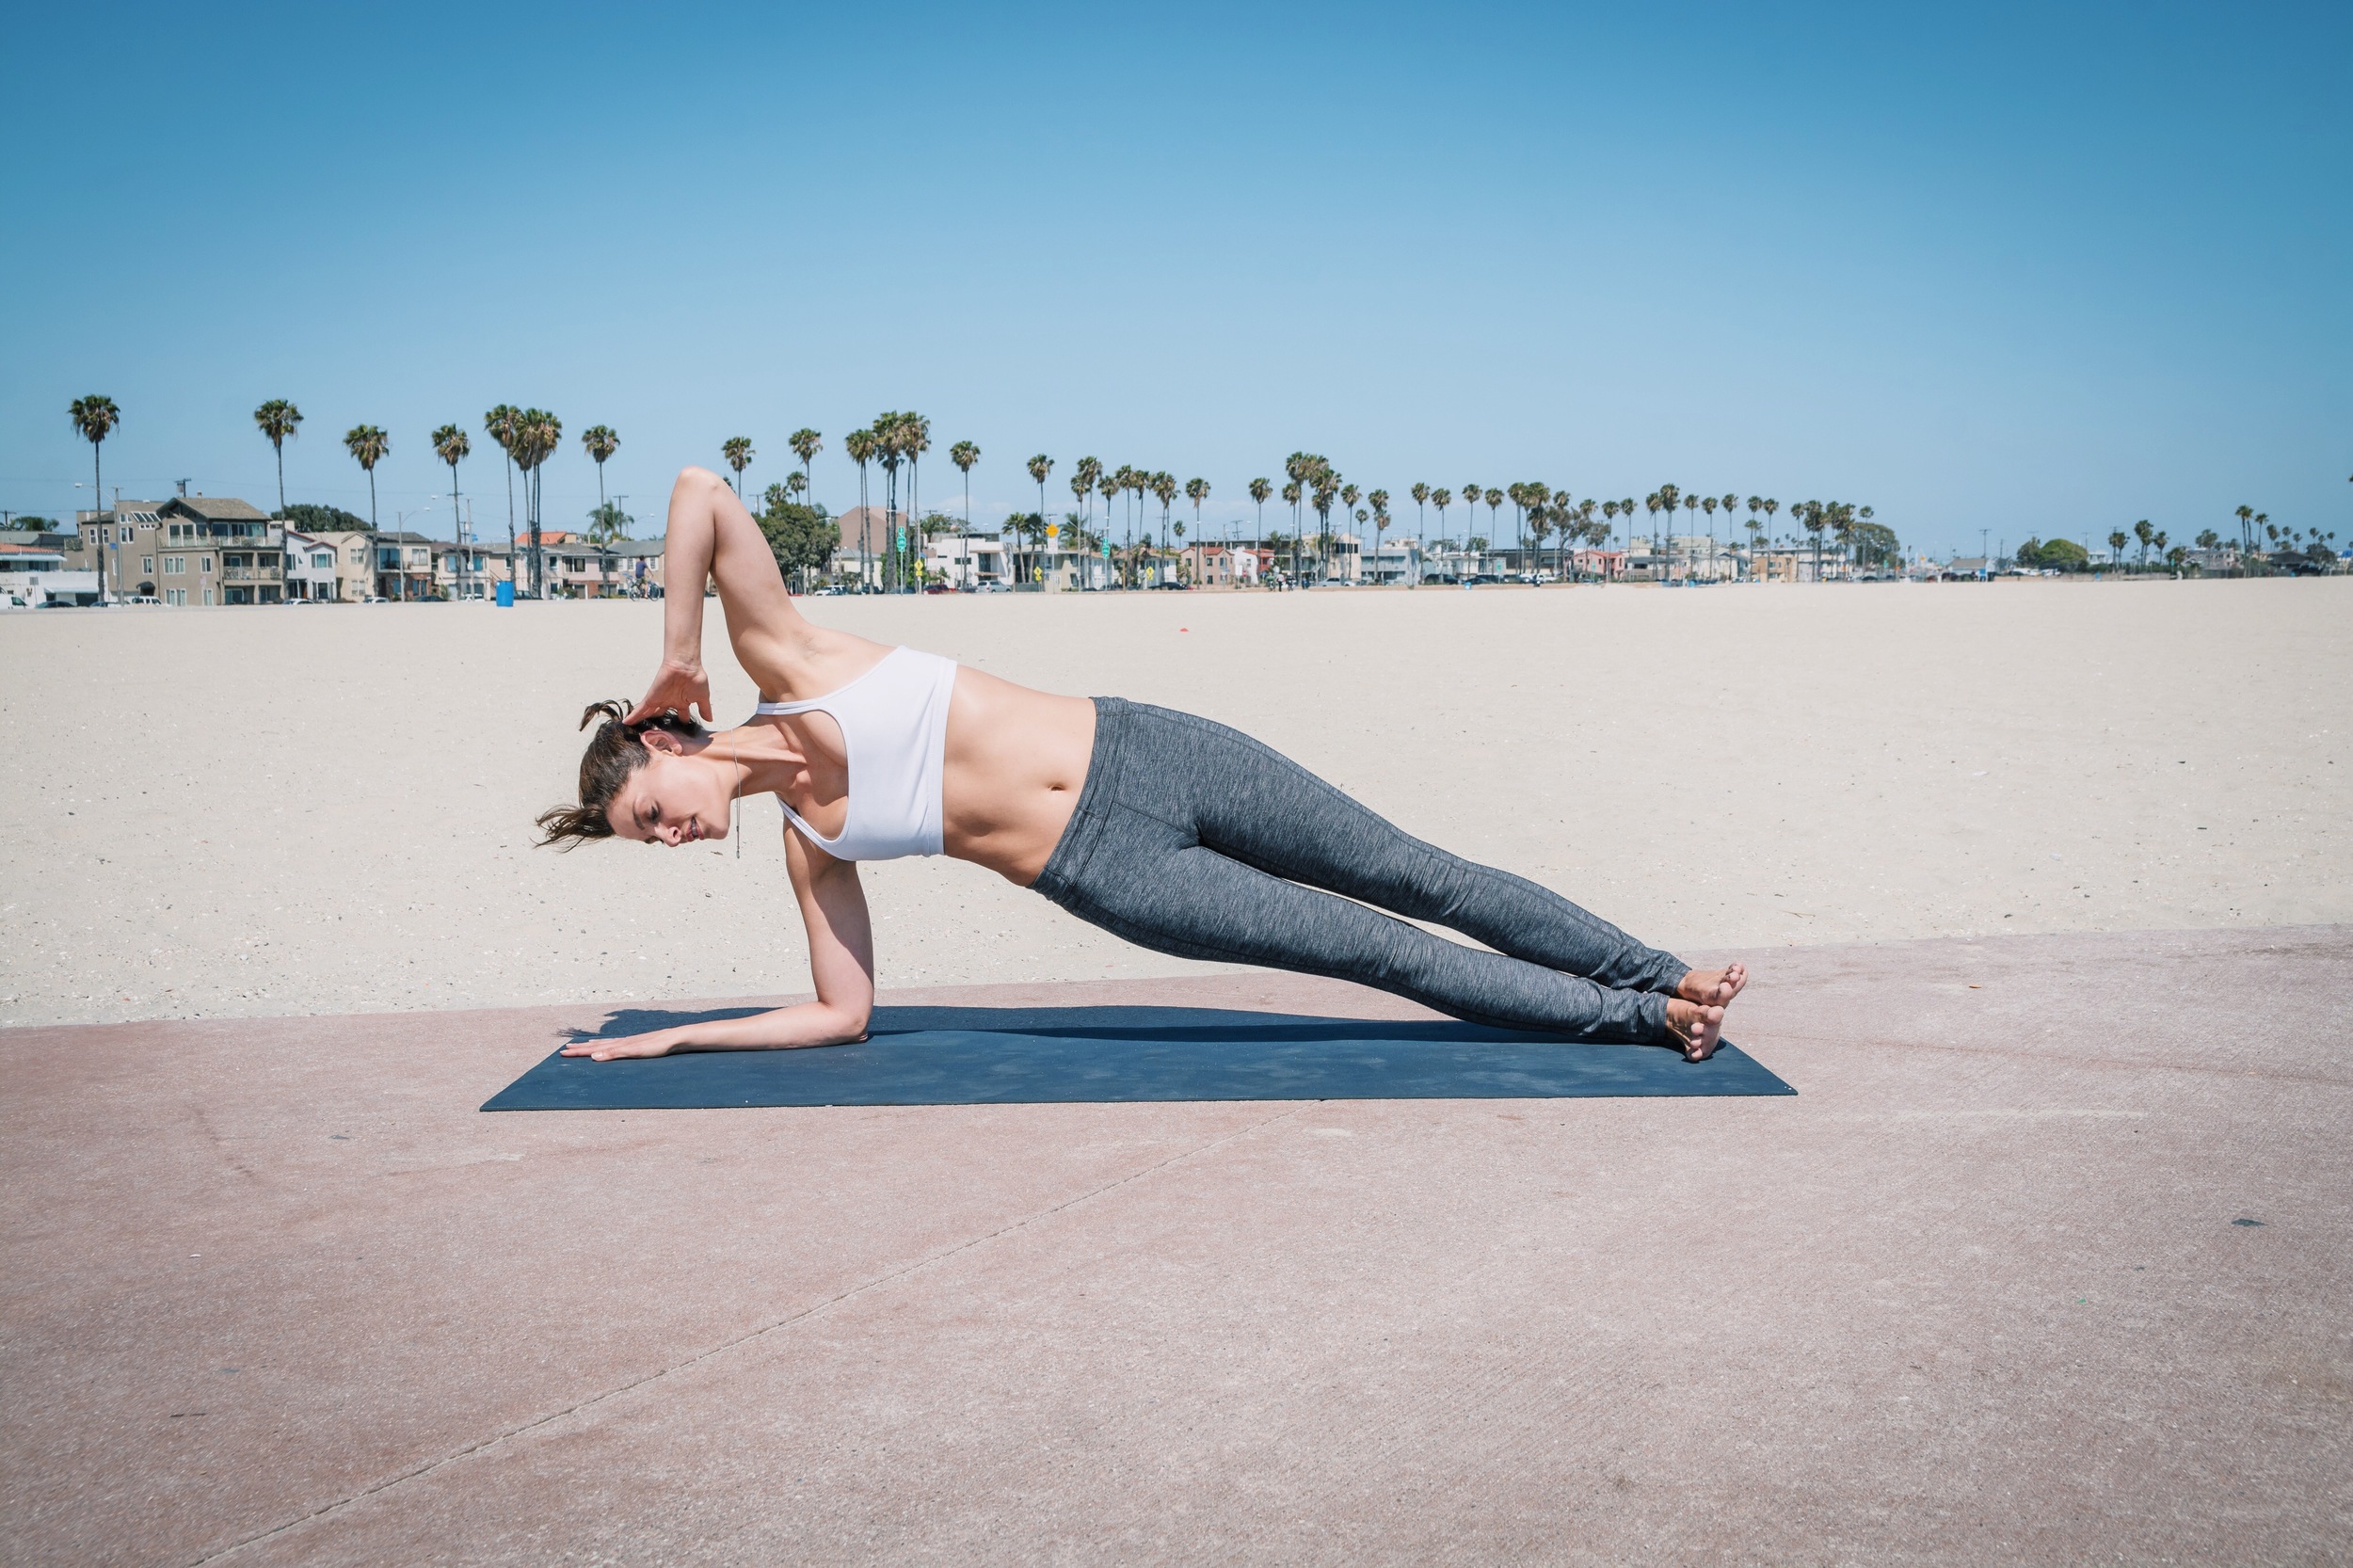
1. Begin in Forearm Plank Pose. Keeping your elbows aligned with your shoulders and your toes tucked under.
2. Keep pressing your right elbow and palm into the mat, as you begin to lift the left arm off the floor. Bending at the elbow, place your left hand behind your head.
3. Come into a side plank on your right side, with your feet stacked one on top of the other and your weight on your right elbow, fingers reaching toward the front of your mat.
4. Keeping your right hip firm and pelvis lifted, engage your deep abdominal muscles and inhale.
5. Exhale, rotate your torso toward the floor, dipping your left elbow. Pull your navel to the spine, as you exhale all the air out.
6. Inhale, and lift your elbow back up to starting position. Repeat 3-5 times, then switch sides.
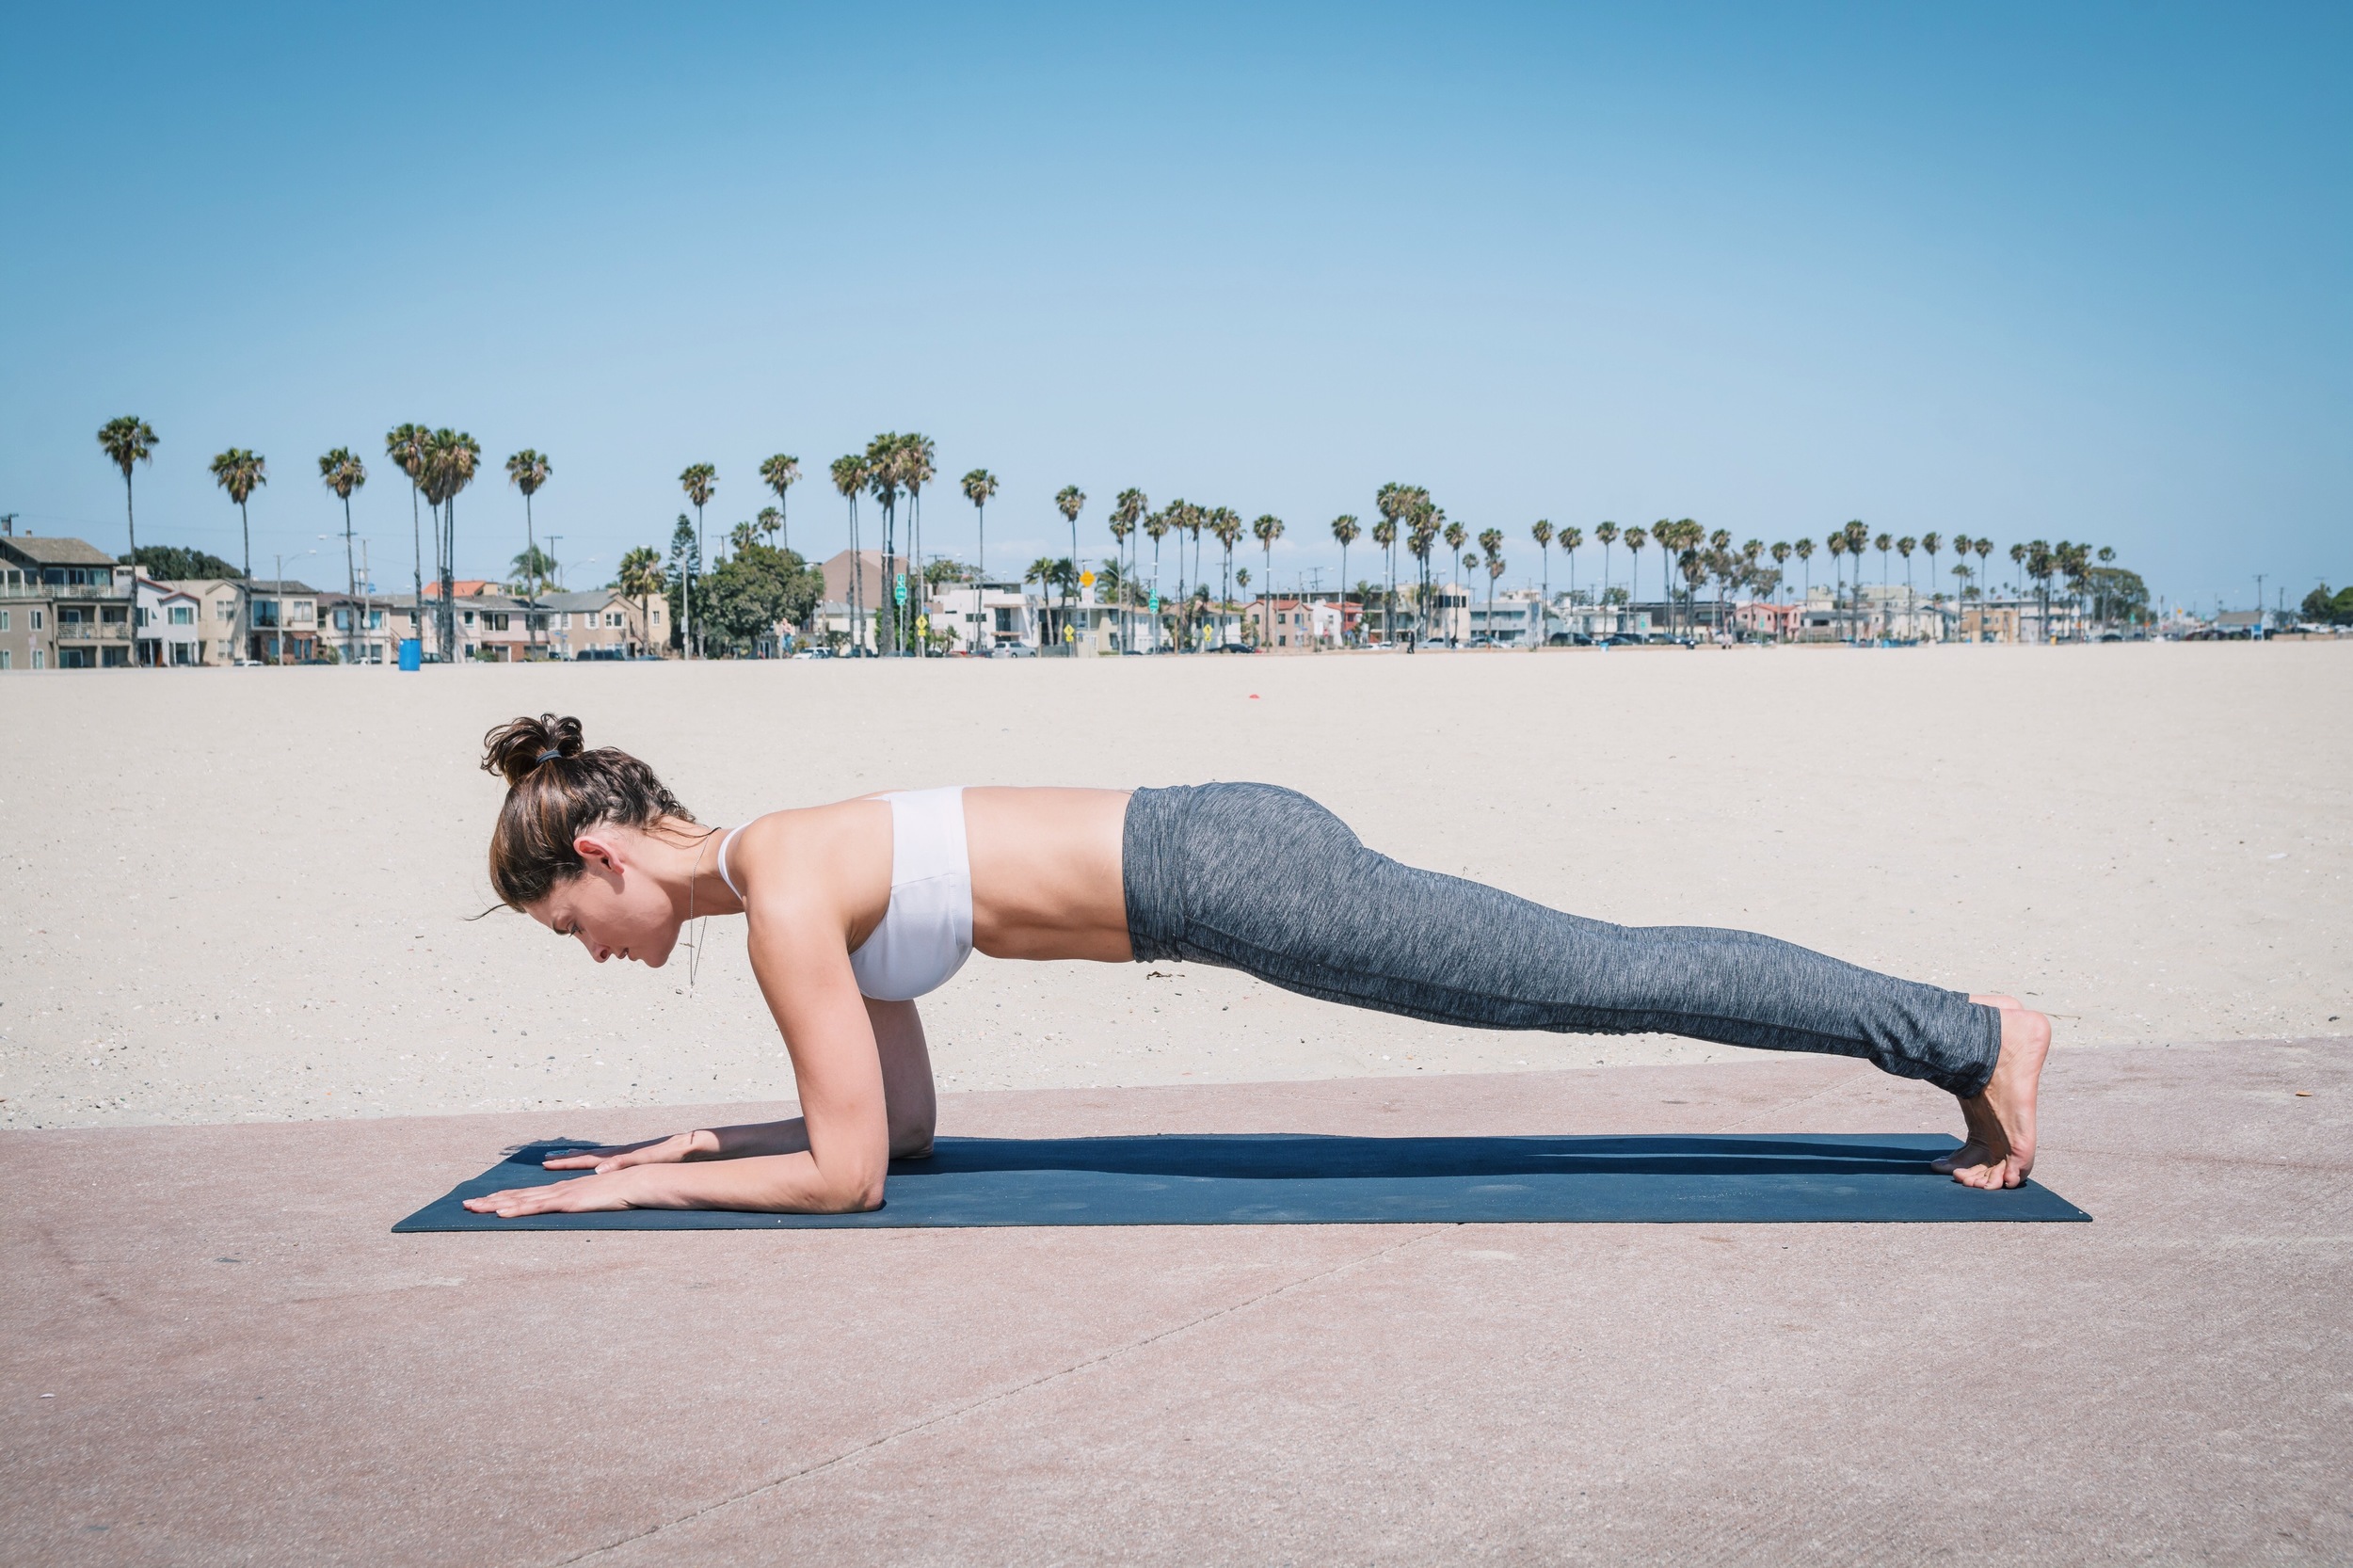
4. Knee-Pull Plank Pose
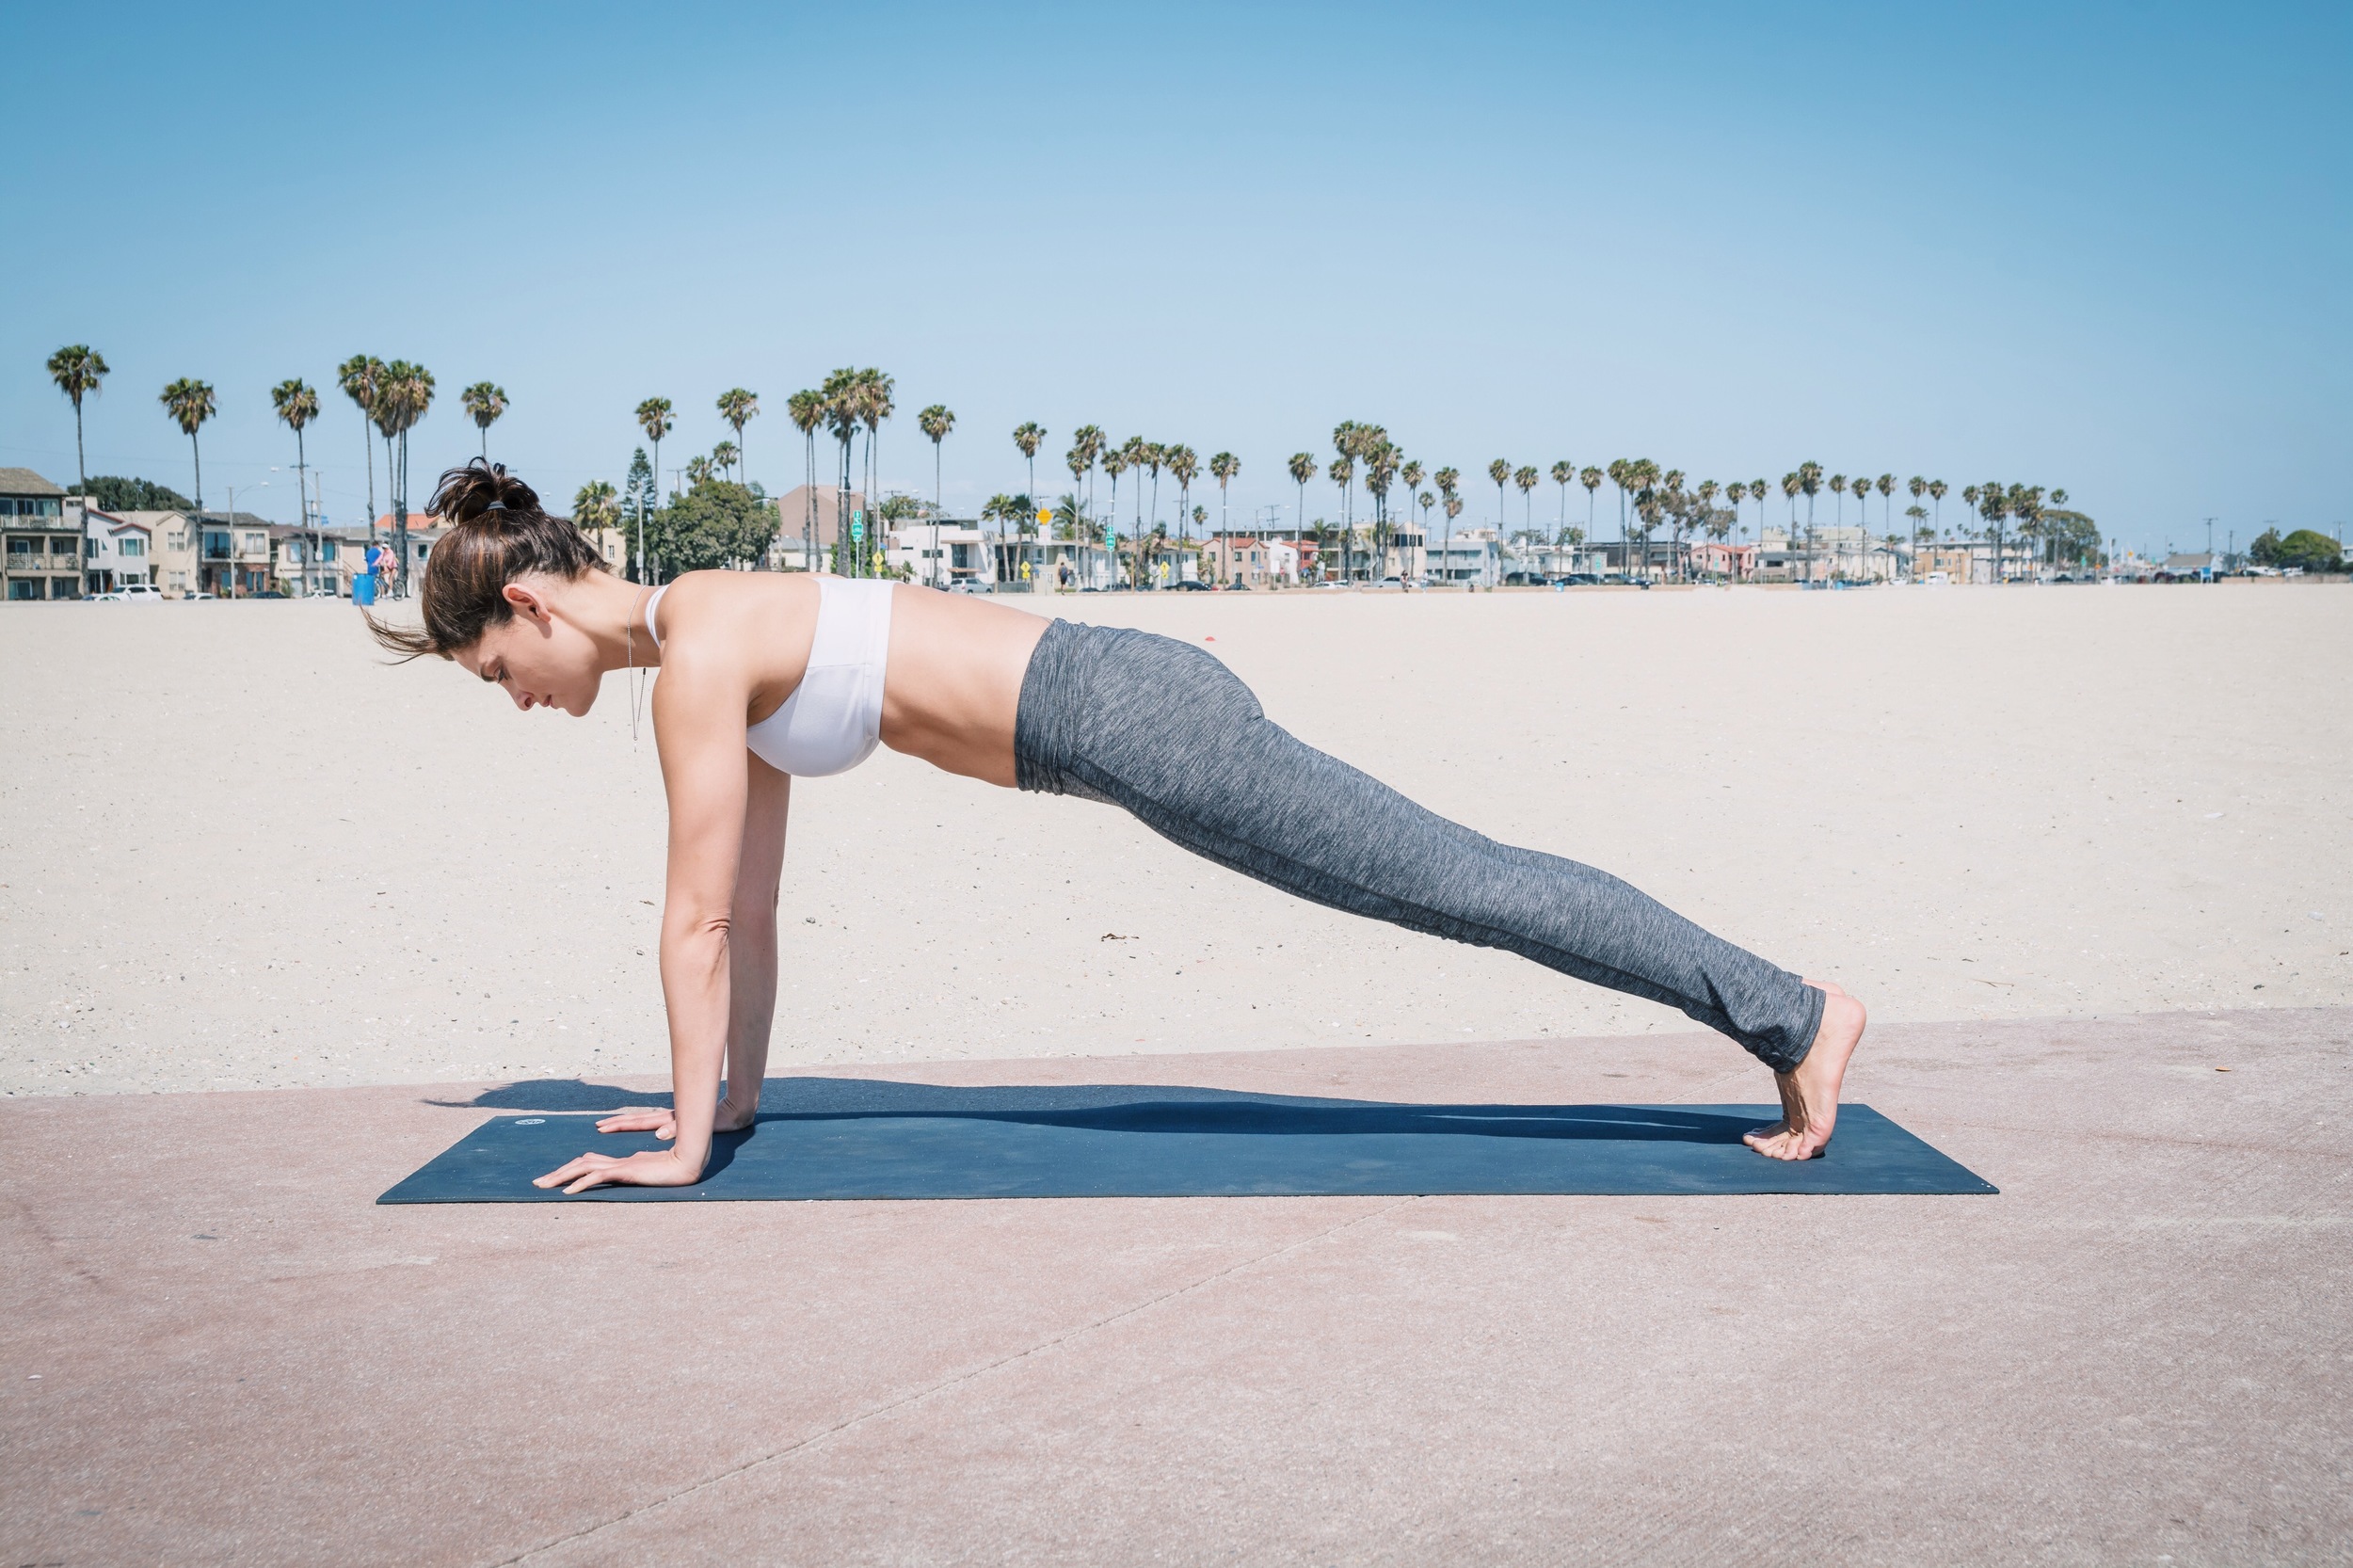
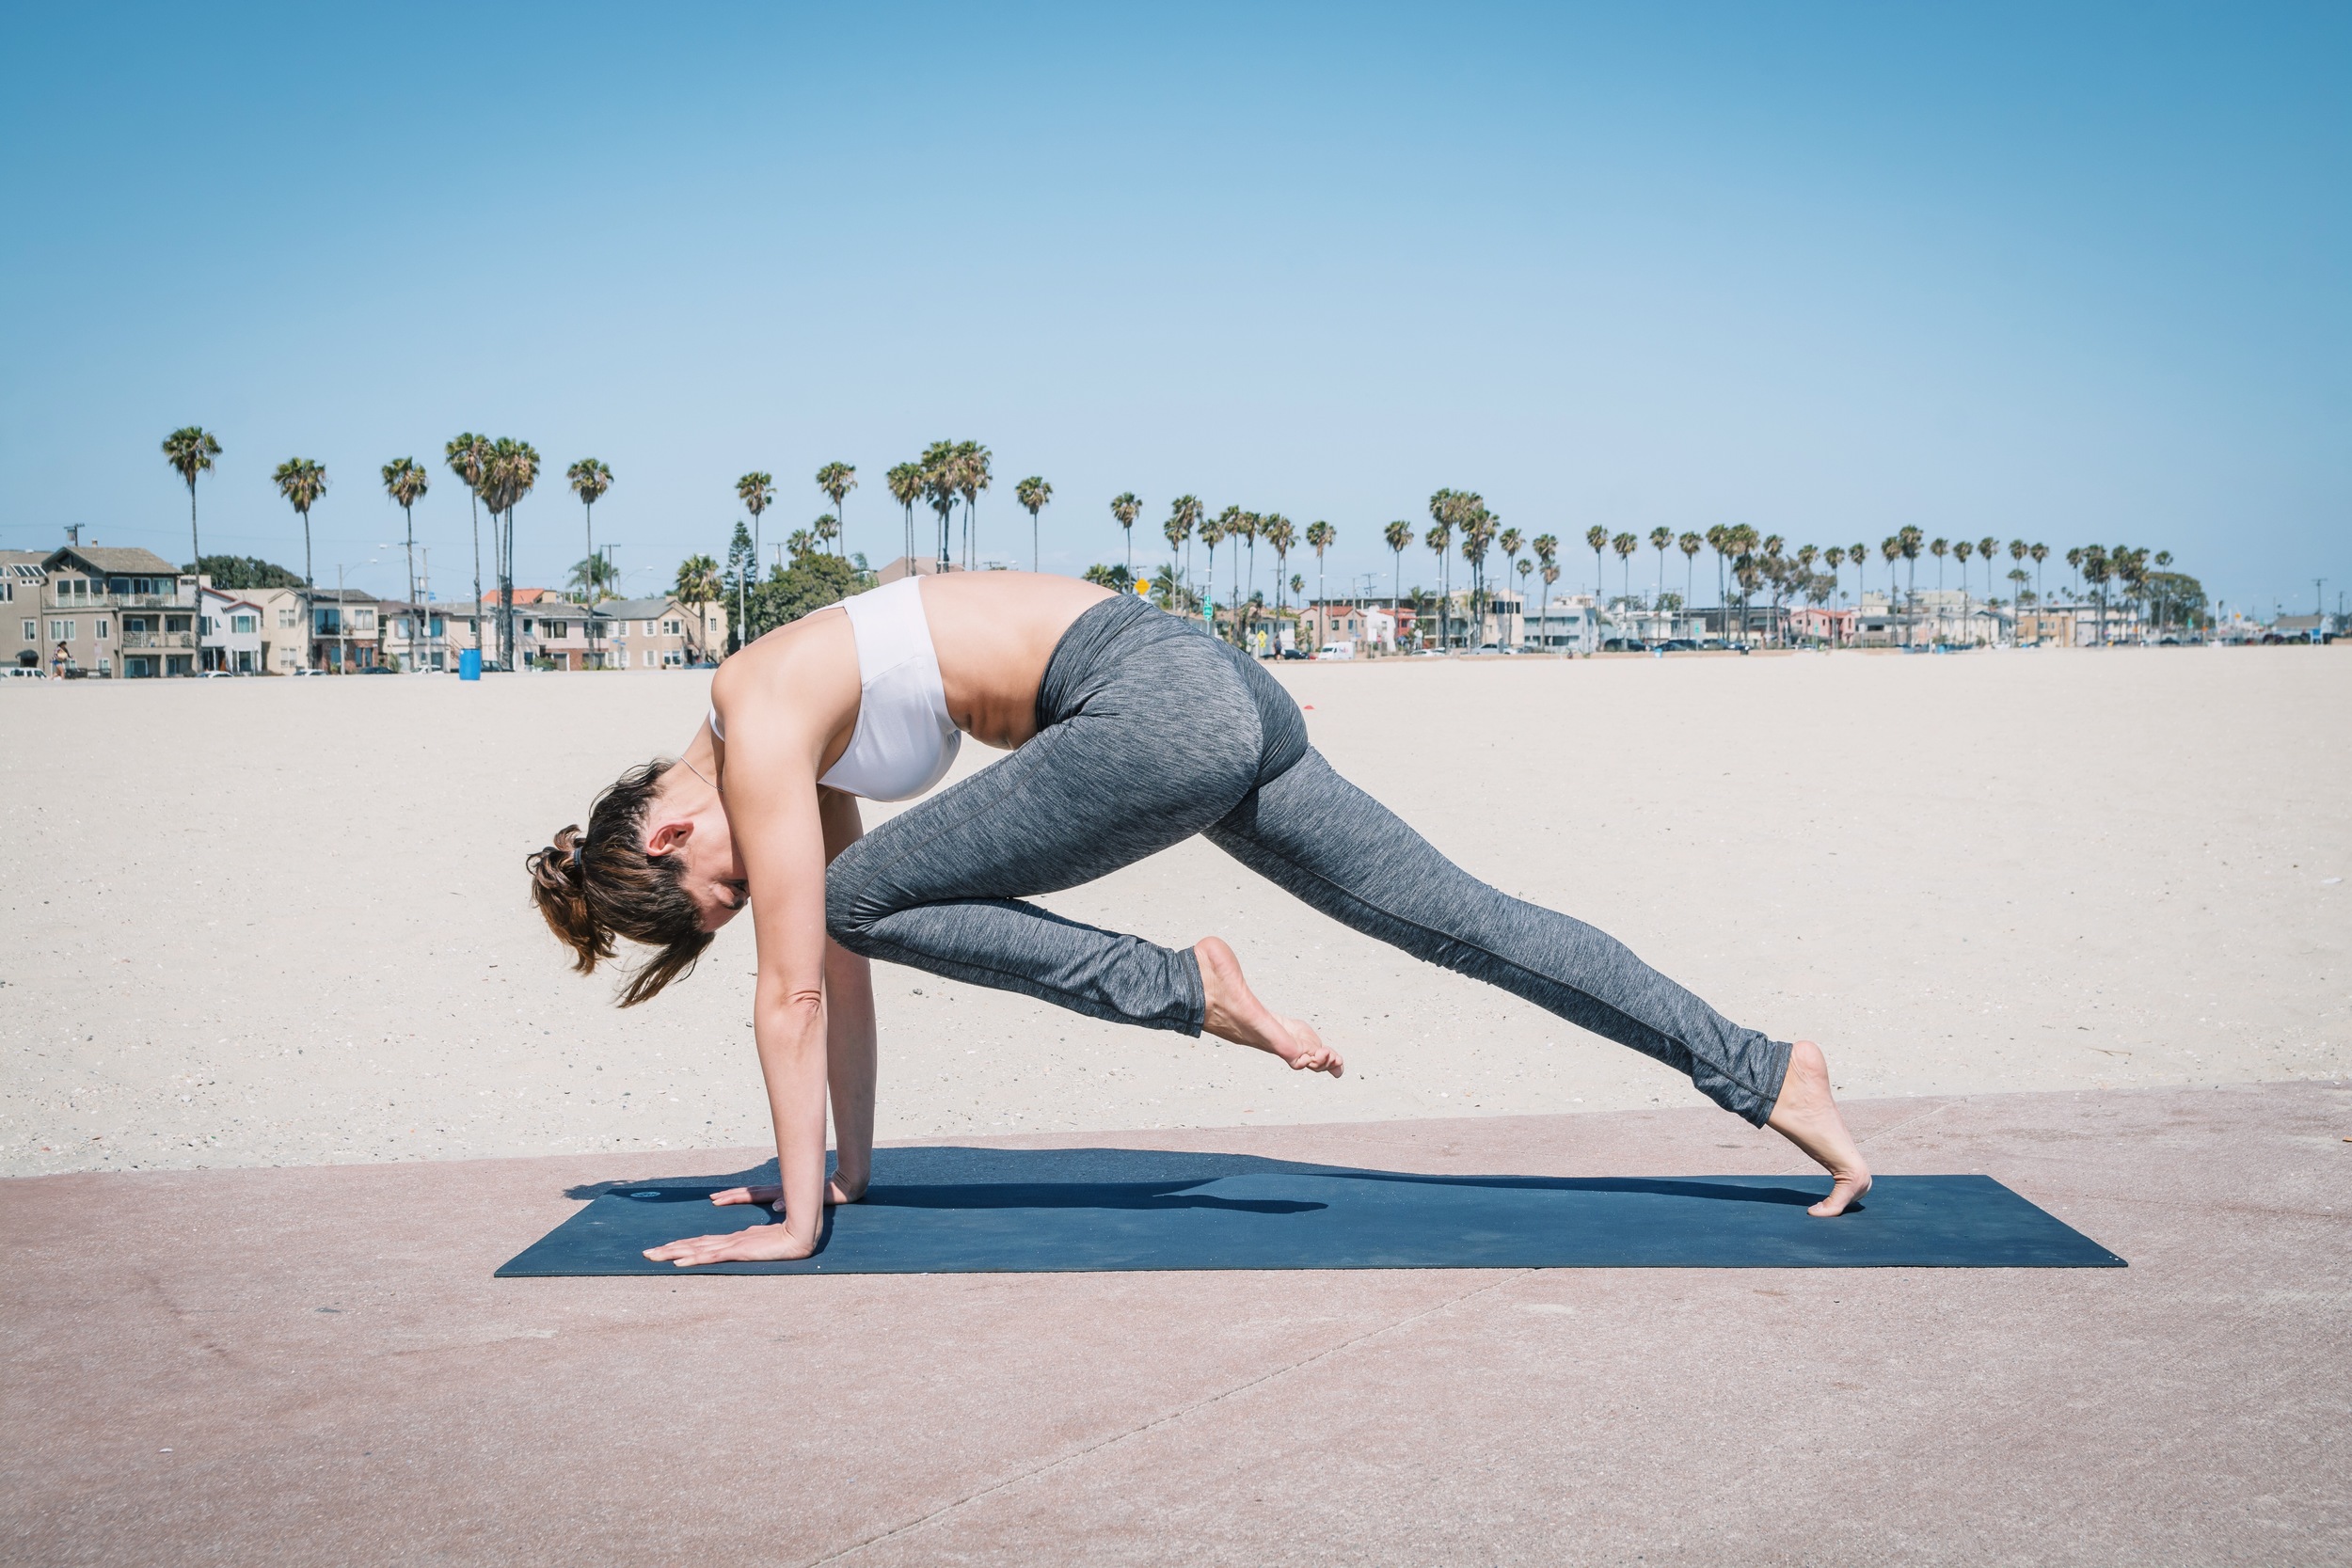
1. Begin in Adho Mukha Svavasana (Downward Facing Dog). On an inhale, shift forward, bringing your shoulders over your wrists and your body into one straight line.
2. Lengthen the back of your neck, and gaze down between your hands. Draw your navel toward the spine and firm your outer upper arms in, rooting down through the knuckle of your index finger and thumb. Inhale.
3. Exhale, as you draw your right knee in toward your chest, rounding your spine and tucking your chin. Make sure to keep your shoulders over your wrists.
4. Inhale, and step your foot back, coming back to Plank Pose. Inhale, as you switch legs. Repeat 4-8 times on each side.
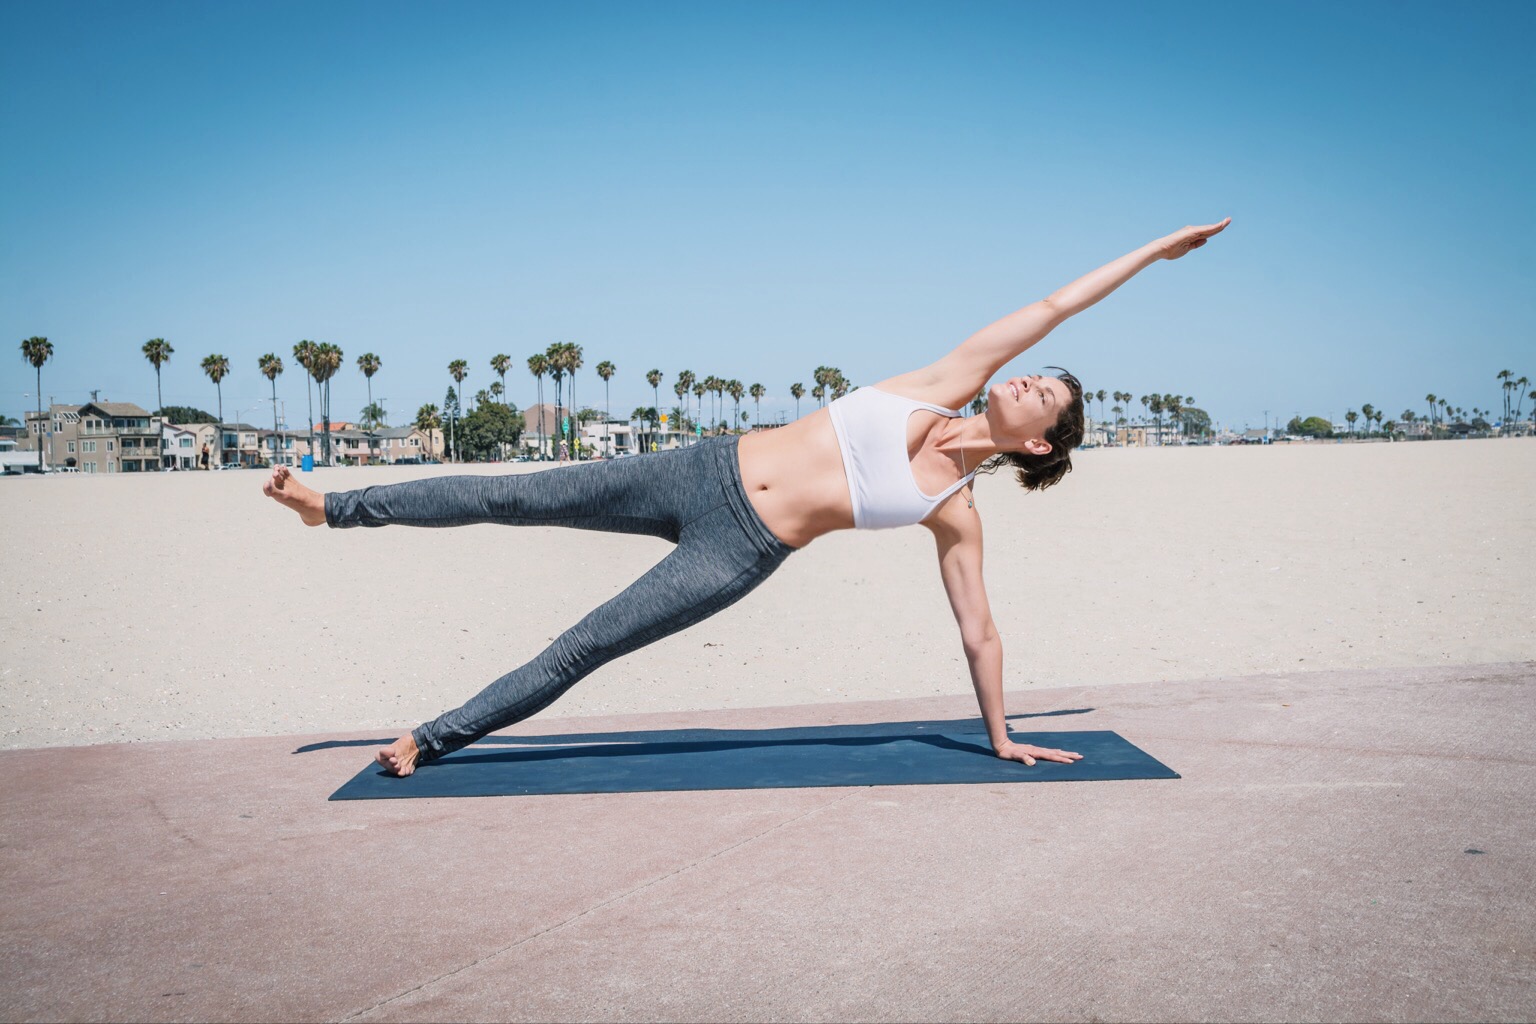
5. Side Plank (Vashistasana)

1. Begin in Plank Pose. Step your feet together to touch and bring your right hand slightly over to the left, to the center of your mat.
2. Press your palm and fingers firmly into the mat. Then roll onto the outer edge of your right foot, stacking your feet on top of one another. If you are newer to this pose or you are struggling with balance, place your right foot on the floor behind the left.
3. Place your left hand on your hip and spread your chest open. Activate your thighs and keep your hips lifted, aligning your body into one diagonal line from the heels to the crown of your head. Flex your feet and press through the heels toward the floor.
4. Take an inhale and reach your left arm straight up toward the sky. You can keep your gaze forward, or begin to turn your head to look up.
5. Hold here for up to 5 breaths. To come out of this pose, release your top arm and return to Plank Pose. You can press back to Downdog for a few breaths or repeat directly on the other side.
6. Side Plank Crunches
1. Repeat the same steps as in Vashistasana on your right side. Bend your left elbow, placing your hand behind your head. If you are longing for a deeper challenge - extend your arm over your ear, while maintaining your balance. For most people, keep your elbow bent!
2. Slowly begin to lift your left leg off the right. Keep your body in one straight line by softening the front ribs and lengthening the tailbone toward the heels. Keep your abs, glutes and quads tight and inhale.
3. Bend your left knee and move it toward your chest to meet your left elbow. Try to do this without moving your torso.
4. Extend your arm and leg to return to starting position. Repeat 3-8 times, before you move on to the other side.
7. Boat Pose (Navasana)

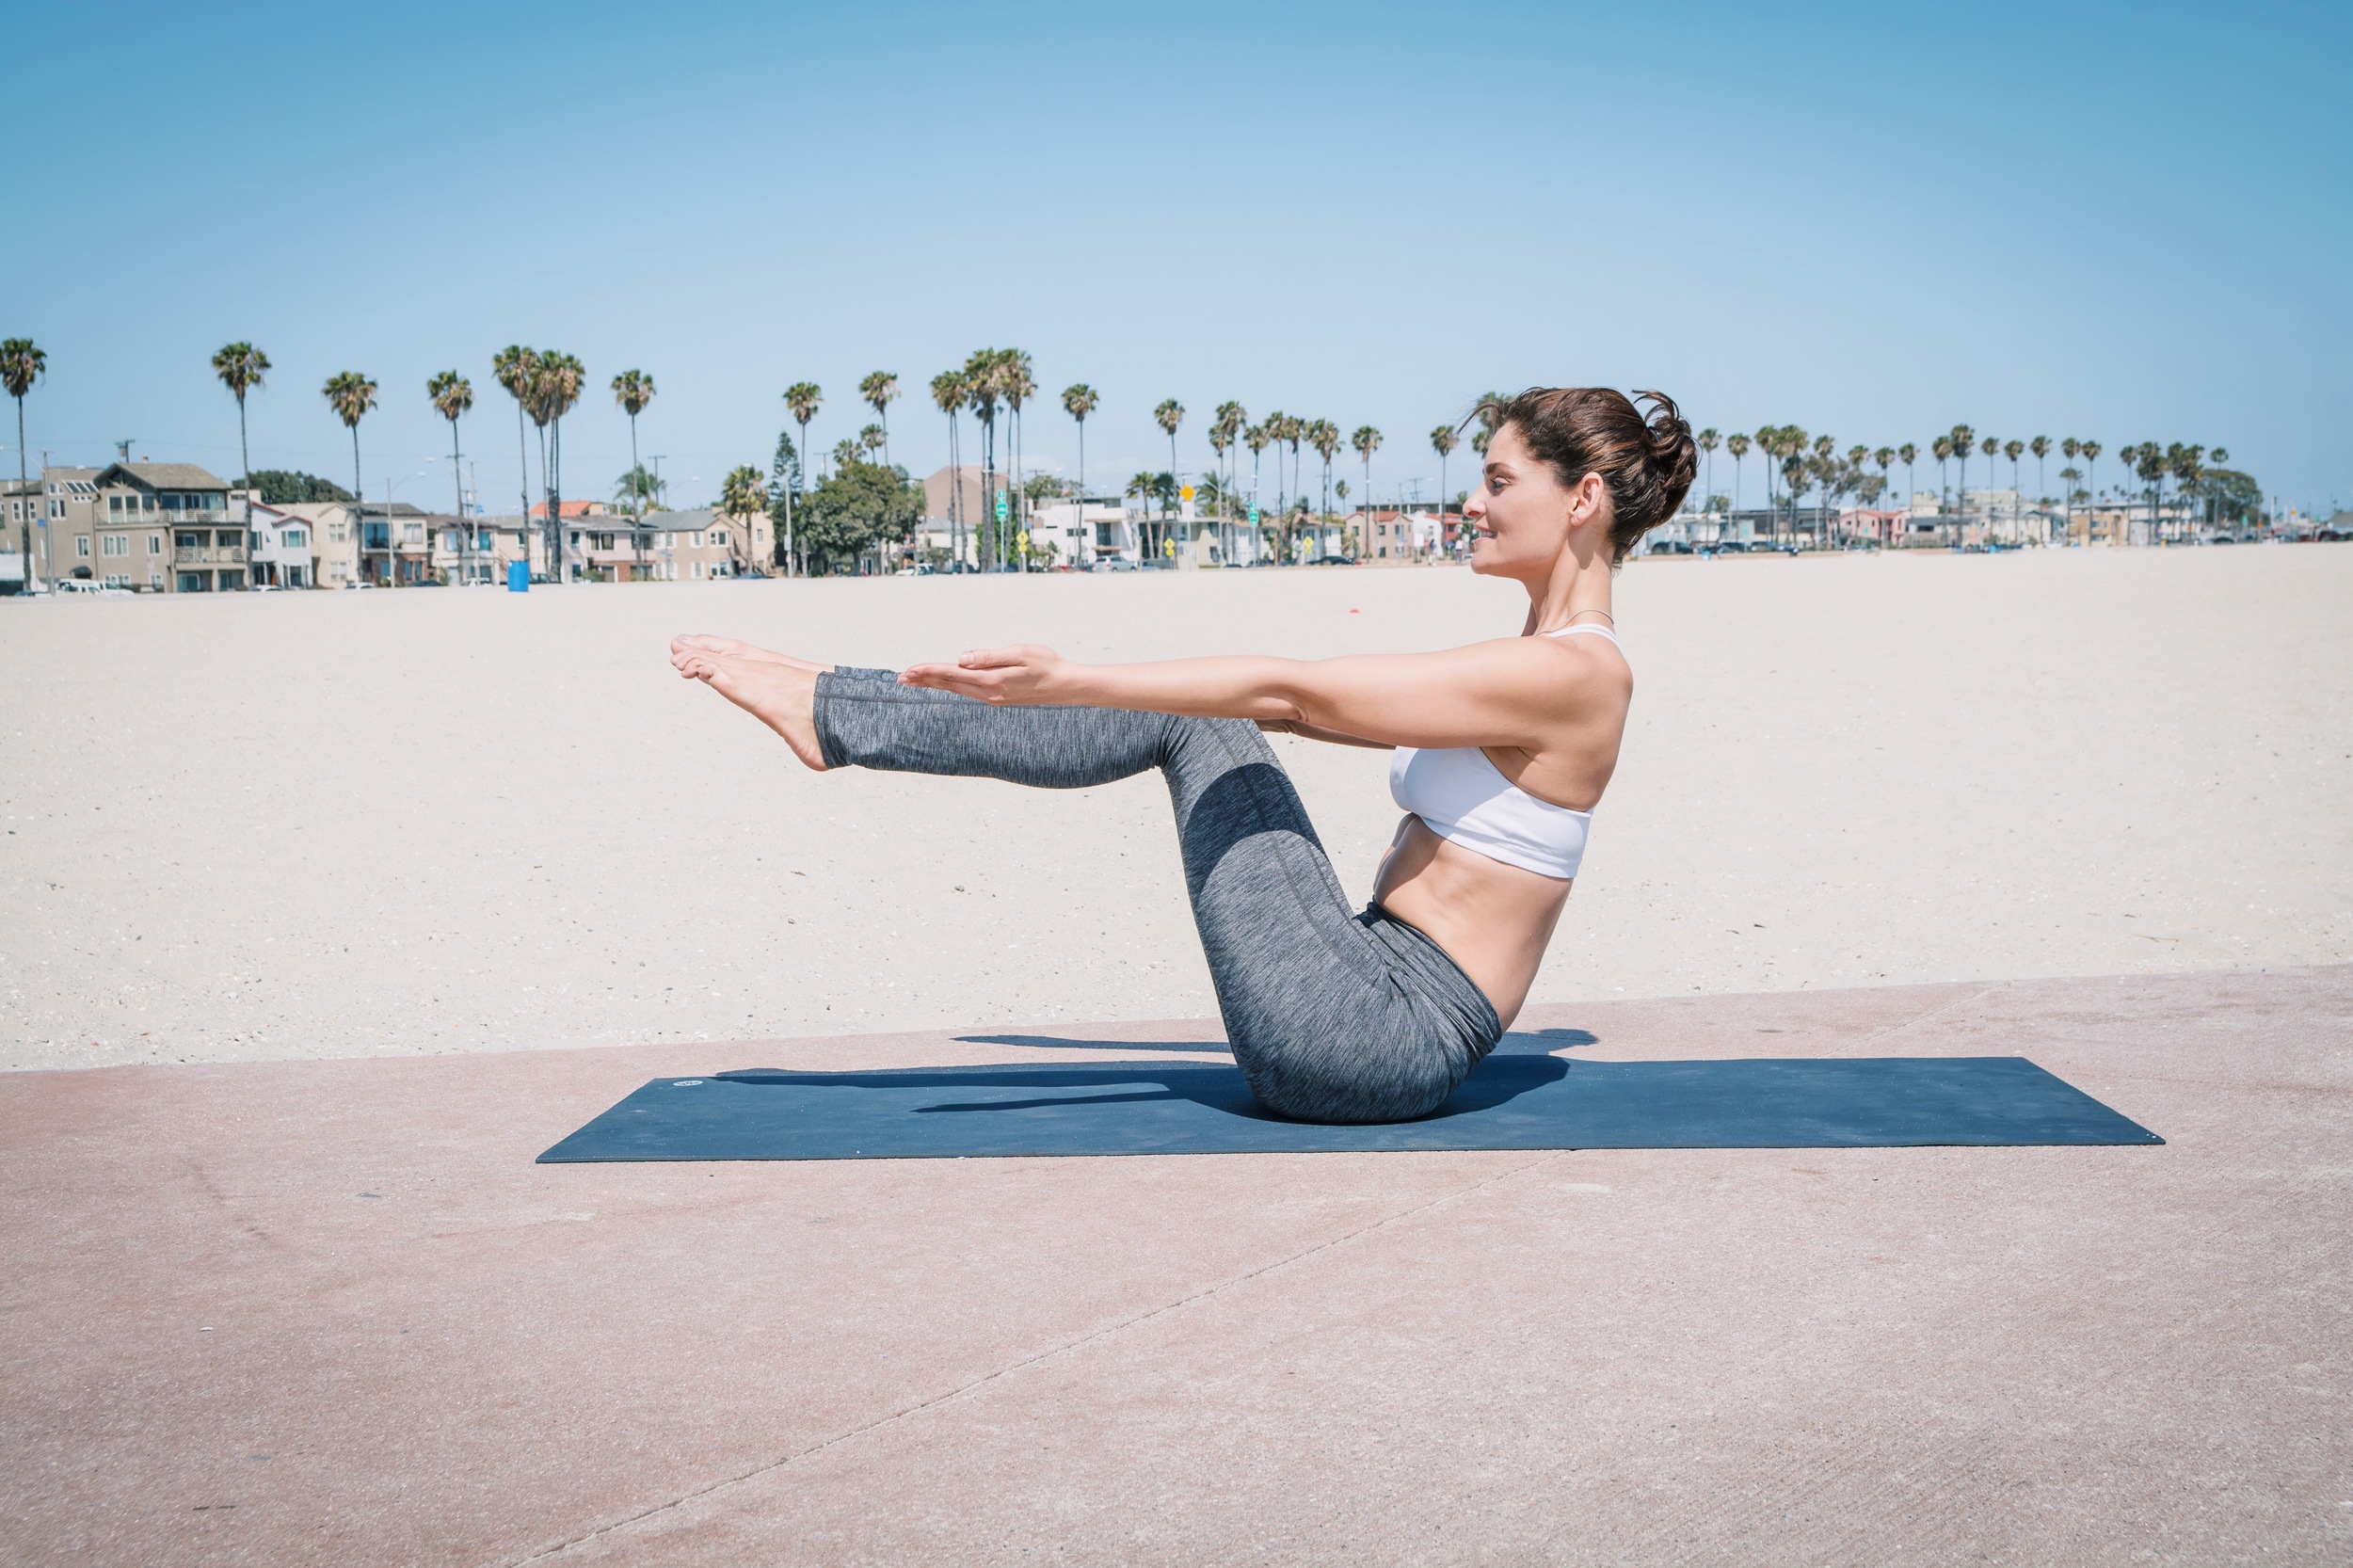
1. Begin seated with your knees bent and your feet flat on your mat.
2. Keep your hands on the floor for balance. Create length in your spine and lean back slightly. Then lift your feet of the mat. Keep your knees bent, so the shins are parallel to the floor.
3. Draw your chest forward as you firm your low back in. Then, lift your hands off the mat and extend your arms forward. Keep them in line with your shoulders. Have your palms face each other. I prefer to have them face up to keep my shoulders from moving forward.
3. Keeping your back straight and muscles firm, begin to balance on your sit bones.
4. Broaden your collarbones and draw your lower belly in to create length in your torso.
5. You can stay here with your knees bent. Or begin to straighten your legs, so your body comes into a V-shape.
6. Firm your outer upper arms in and reach out through your fingers. Try to stay calm and keep your face soft. Focus on your breath and gaze to your toes.
7. Stay here for 3-6 breaths. Release your arms and legs with an exhalation.